Author: nbkvd1p

Laugh ‘Till You Cry Emoji Pillow Crochet Pattern

Having teens in the house can sure “spice” up many aspects of life. One of these things for me was that I have made some unique projects that would have never touched my hook without the, uh, inspiration from my girls! Thus, let me introduce the Laugh ‘Till You Cry Emoji Pillow –

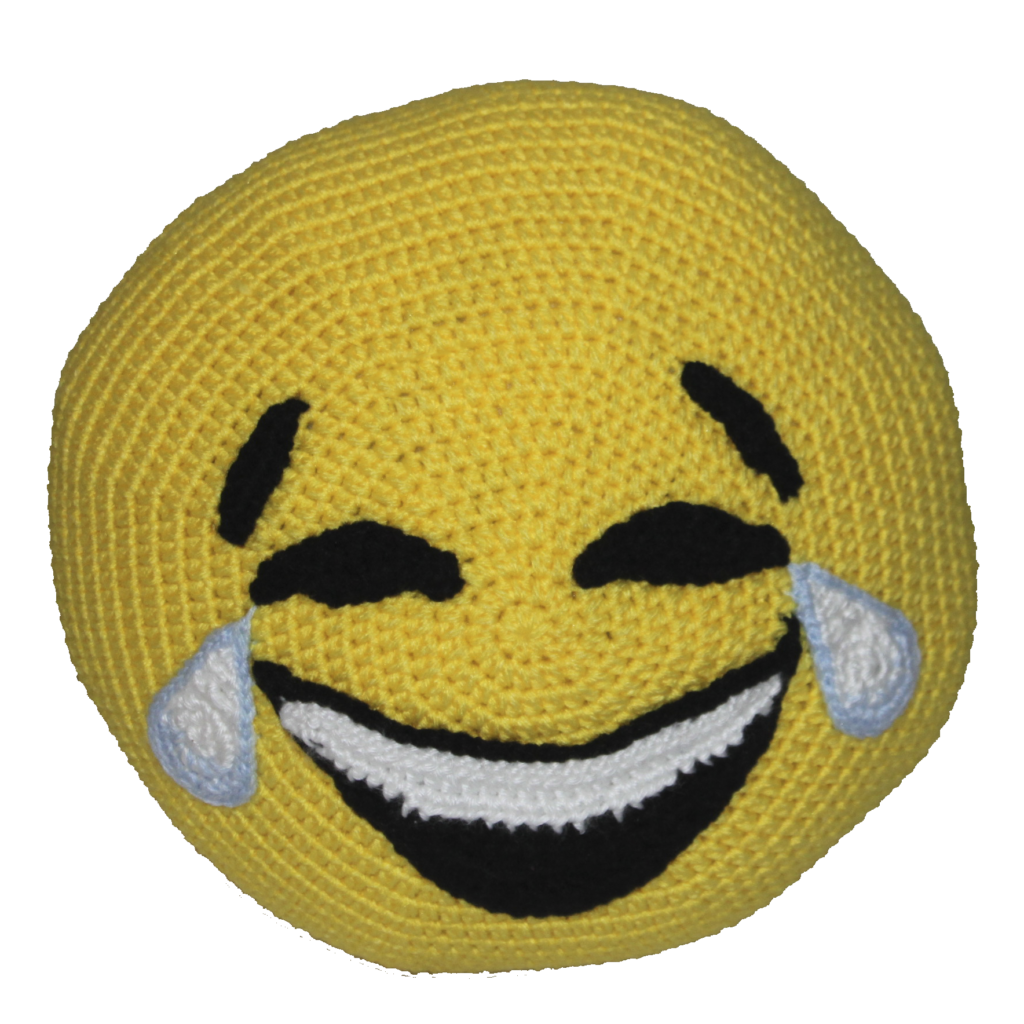
It’s bold, it’s cheery, and it’s (my favorite) seamless! This pattern uses continuous rounds to avoid that irritating seam that joins give us. The pillow portion of this pattern is great to have on hand for any project up your sleeve! You can find it on Ravelry or Etsy.

or on Etsy


Classical Conversations Cycle 3 Placemats

I started making CC placemats for my visual and kinesthetic children a couple years ago. Here’s a page my daughter filled out from my blank version.

For my previous placemats I went all out with drawings for every little piece of memory work. I’ve since lost all of the information on my server (LONG story) and am trying to build my website again from scratch. With an additional baby in tow it’s taking me quite a bit of time!


Here is the fill-in-the-blank version of the Cycle 3 placemats. I hope they are helpful to you in the upcoming year. You can try out the first few weeks HERE to see if you enjoy them!


Want the full color version instead? I’m so excited to say that after months of work between little strawberry baby kisses – I’ve finally finished the full color pages – now with Bible as an option for all 24 weeks!

Blessings and joy in every moment — Hannah

Mia’s Toddler Ponytail Hat

I made a messy bun hat for one of the cutest little girls I know. Toddlers don’t always have enough hair to make a messy bun, so I’m calling it a ponytail hat. Isn’t it cute? Ok, Mia definitely helps with that precious face and gorgeous curls.

I’m sharing my pattern with you for free! You can also add it to your Ravelry queue. Enjoy <3 Hannah

Mia’s Toddler Ponytail Hat
Crochet Pattern

Skill Level: Easy

Materials: Measuring tape, yarn needle, scissors, stitch marker, small 1.5” hair band

Yarn:

1 skein of Baby Bee Baby Mine!, Sugar’N Spice

1 skein of Yarn Bee Confection Chunky, Meringue

   Substitutions: any DK weight yarn for the hat and any bulky weight for the bow

Gauge: 4” = 19 stitches and 21 rows in the H hook section of pattern
 
Hook Size: G, H, L

SizeToddler 18”-20” head circumference


Abbreviations Used:

st or sts – stitch or stitches

ch – chain stitch

sc – single crochet

dc – double crochet

sl st – slip stitch

rnd(s) – round(s)

inv join – invisible join

FSC – foundation single crochet

Hat: Baby Bee Baby Mine!, Sugar’N Spice

Rounds 1-28 are stitched in a continuous round. Use a stitch marker between rounds.

Rnd 1: sc 14 around girls hairband, mark place with stitch marker (14)

Rnd 2: *sc, 2 sc* around (21)

Rnd 3: *sc 2, 2 sc* (28)

Rnd 4: *sc 3, 2 sc* (35)

Rnd 5: *sc 4, 2 sc* (42)

Rnd 6: *sc 5, 2 sc* (49)

Rnd 7: *sc 6, 2 sc* (58)

Rnd 8: *sc 7, 2 sc* (63)

Rnd 9: *sc 8, 2 sc* (70)

Rnd 10: *sc 9, 2 sc* (77)

Rnd 11: sc 10, 2 sc* (84)

Rnd 12-27: sc around (84)

Rnd 28: sc 82 (around until last 2 st), slst 2 (82 sc + 2 slst)

Rnd 29: change to G hook, dc around skipping last slst, inv join (83)

Rnd 30: ch 1, sc around, do not join, mark to continue in rounds (83)

Rnd 31-36: sc around (83)

Rnd 37: sc 82, slst, fasten off

Bow: Yarn Bee Confection Chunky, Meringue

FSC 65 with L hook, approximately 30” long. Weave chain in and out of every 2 dc’s of hat leaving approximately 6-7” tail out of each end of chain (12-16 fsc’s). Tie bow.

Copyright Notice:
You are welcome to sell your finished items from this pattern. However, please do not copy, share, or redistribute the pattern itself in any manner. Please provide a link to my website if you choose to sell your finished items online, even if adjustments or embellishments have been made to my pattern. If you change the name to the item when you sell, mention the pattern name and link so that other people can find it).

You may link in this way: Mia’s Toddler Ponytail Hat Crochet Pattern by Hannah at brightsideis.com.

If you have any questions or need help with this pattern, please contact me at [email protected] as I am happy to help you. Thank you for supporting my family by purchasing a pattern. – Hannah

Girls’ Ankle Boot Cuffs

Gianna’s Ankle Boot Cuffs

I received a Christmas order for a girl’s boot cuffs. Her tiny little ankles are so small that I made them with buttons instead of slip-on since I was worried they wouldn’t stretch properly over her feet. I had never made boot cuffs from any other color than the basics so the request for a light teal was different. I didn’t expect them to turn out as cute as they did!

I am sharing this pattern that I designed for a 7-year-old. I made up the pattern as I went along so let me know if you have any questions.

Skill Level: Moderate
Materials: Measuring tape, yarn needle, scissors, buttons
Yarn: 1 skein of Vanna’s Choice Lion Brand yarn in Aquamarine
*Substitutions: any worsted weight or 4 ply yarn
Note: only about ½ of the skein will be used
Gauge: boot cuff length is 7”
Hook Size: H
Size: Child Ankle: 7” before stretch. Measure just above boot for circumference. Subtract .5” for the width of the cuff.

Abbreviations and Stitches:
ch – chain
sc – single crochet
sk – skip
vs – V-stitch here is dc, ch 1, dc in one st
mss – modified star stitch – I like the moogly tutorial, but I ended up only adding one stitch to the side of the previous star stitch instead of 2. This one stitch is the same as the 2nd she makes on the video (I just skipped the 1st completely). After you chain at the top of the star stitch, skip the chain, pull up from the side of the star stitch, pull up from the st last star stitch in, pull up from the next stitch, yo and pull through all 4 loops on the hook.

Hopefully, I’ll make a video for that one day. If you know what this modified version is called (if it exists), let me know!

R0: ch 30, turn

R1: beginning in 2nd ch from hook, sc across, turn (29)

R2: ch 1, pull up from each of the first 3 st, yo and pull through 4 loops on hook, ch 1 (starting star stitch made), sk ch 1, pull up from side of star stitch, pull up from st last star stick is in, pull up from next st, pull through all 4 loops on hook (second star stitch made), continue mss across, sc in last st, turn (14 star stitches + 1 sc)

R3: ch 1, sc across, turn

R4: repeat row  2

R5: sc across, turn

R6: ch 3, dc same st, sk 2, *vs in same st, sk 2* across, dc in last st, turn, ch 3

R7 – R9: repeat row 6

R10 – R12: repeat R3 – R5

Fasten off

Gianna's Bott Cuffs Open

Button Holes: attach to opposite end of foundation chain. sc, *ch 3, sc 3* 4 times, ch 3, sc, fasten off

Buttons: I attached 3 buttons on each cuff, but you could attach up to 5 with the number of button holes.

I am thrilled to offer you the PDF version of this pattern or you can save it to your Ravelry favorites!

Copyright Notice:

You are welcome to sell your finished items from this pattern. However, please do not copy, share, or redistribute the pattern itself in any manner. Please provide a link to my website if you choose to sell your finished items online, even if adjustments or embellishments have been made to my pattern. If you change the name to the item when you sell, mention the pattern name and link so that other people can find it).

You may link in this way: Gianna’s Ankle Boot Cuffs Crochet Pattern by Hannah at brightsideis.com.

If you have any questions or need help with this pattern, please contact me at [email protected] as I am happy to help you. Thank you for supporting my family by purchasing a pattern. – Hannah

Batman applique crochet pattern

Batman Symbol Inspired Pattern

Superman vs Batman Hat
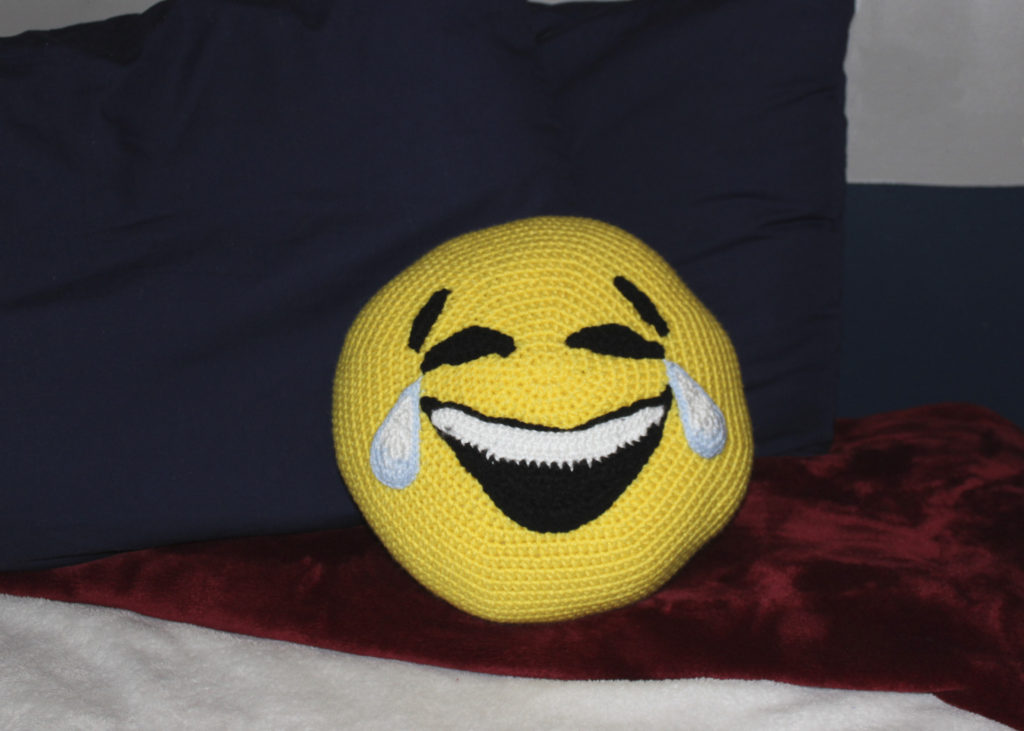
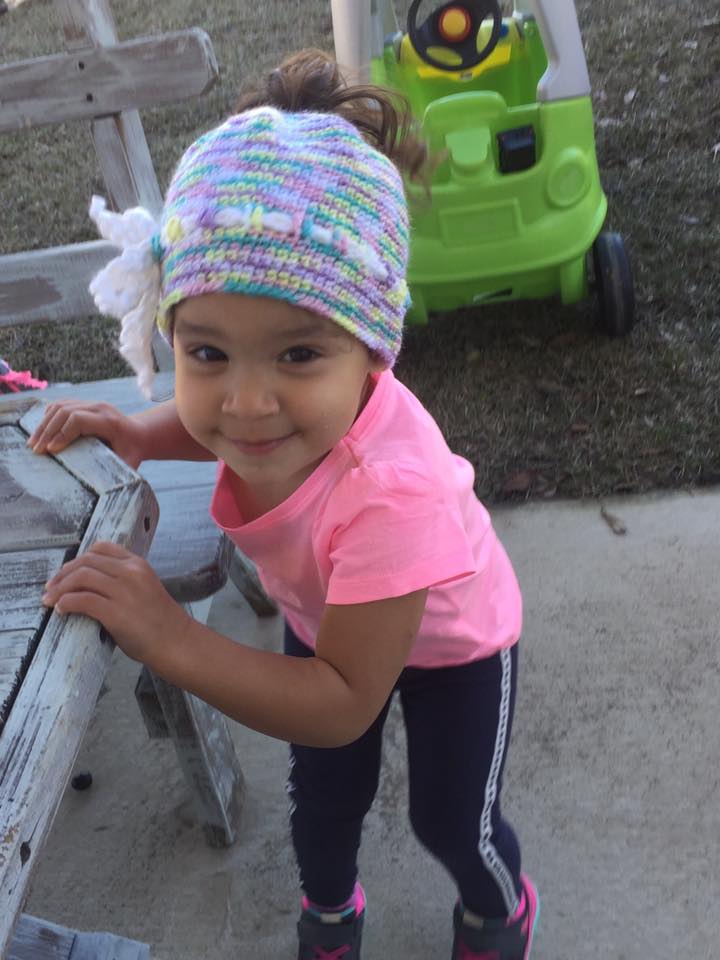
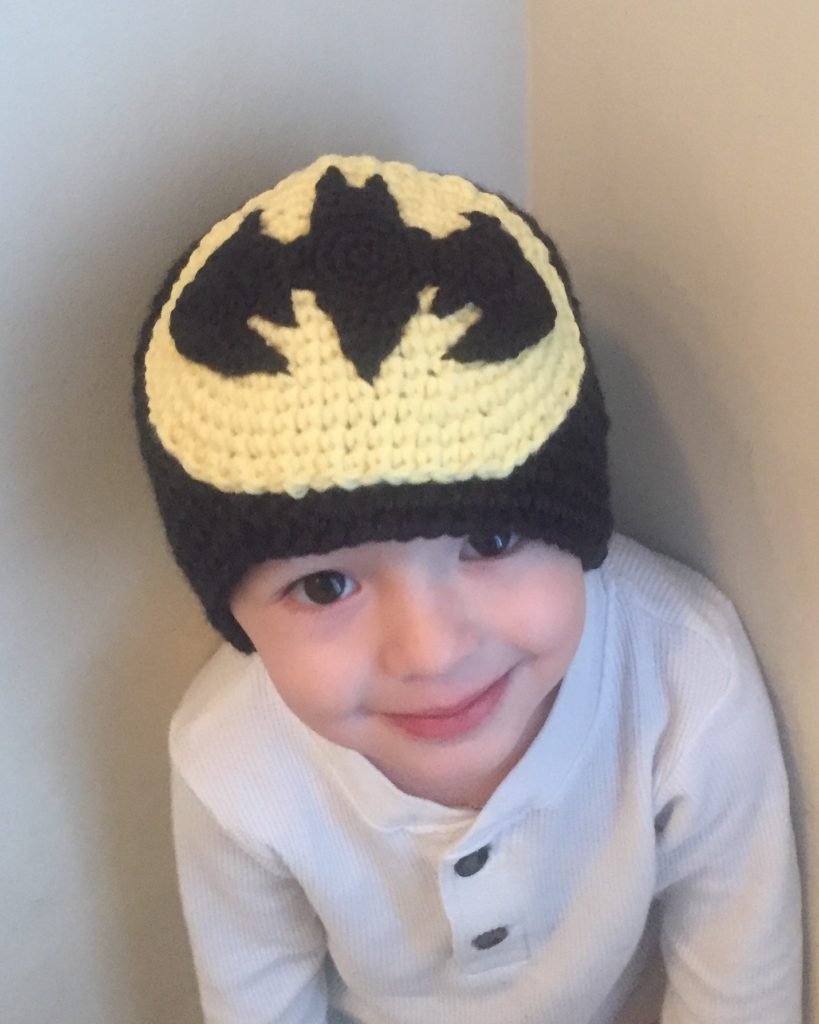
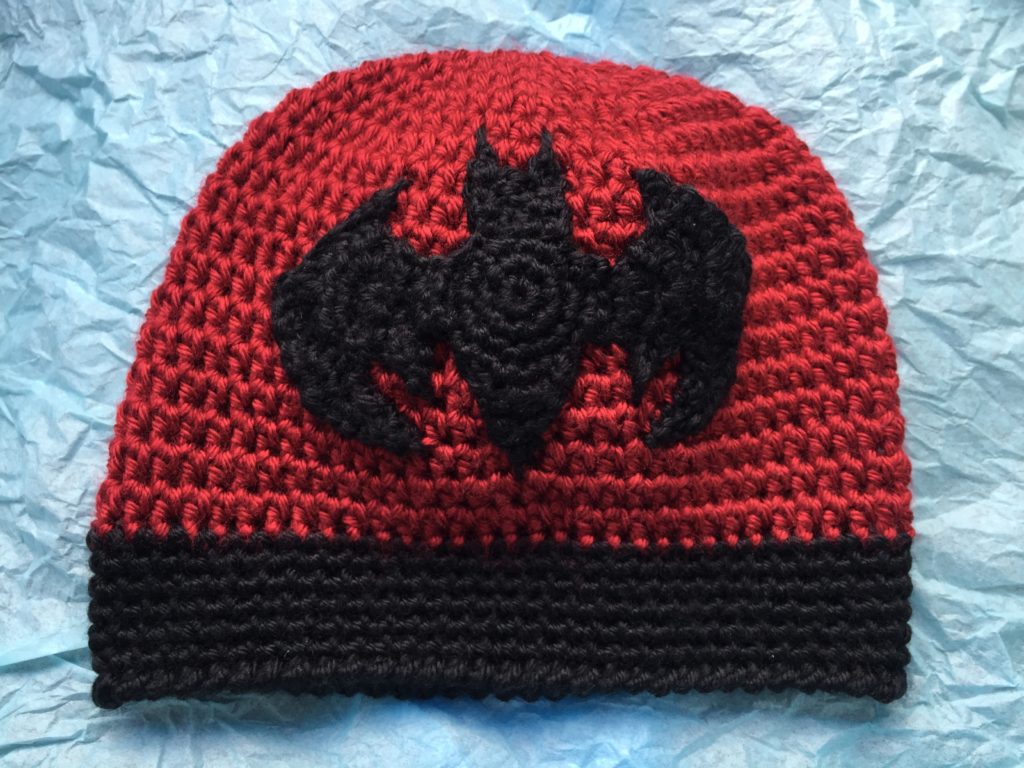
My little boy loves all things Batman. What little boy doesn’t? I love Batman too! Anyway, maybe that makes me picky because I couldn’t find an applique for his hat that I really wanted and holy applique Batman! – I wrote one! 

I will write out my favorite beanie pattern to go with this one day soon, but for now you can find this pattern on Ravelry. Enjoy! – Hannah
Batman applique crochet pattern

Printable Bible Verses for a Brokenhearted Child

Encouraging Bible Verses Printable

We recently learned that someone close to us has chosen to go through with divorce. As we all know, this is a really tough experience for their child. We decided to put together a photo album with notes and bible verses to encourage him.


Bible Verse Photo Album Memory Flashcards

I’m making the verses I created available to anyone who would like to do the same. They print out the same size as 3×5 index cards and fit in almost any album. They would work out nicely as memory cards too!

Thank you for supporting our family! – Hannah

Classical Conversations Visual Flashcards

Classical Conversations Science Flashcards

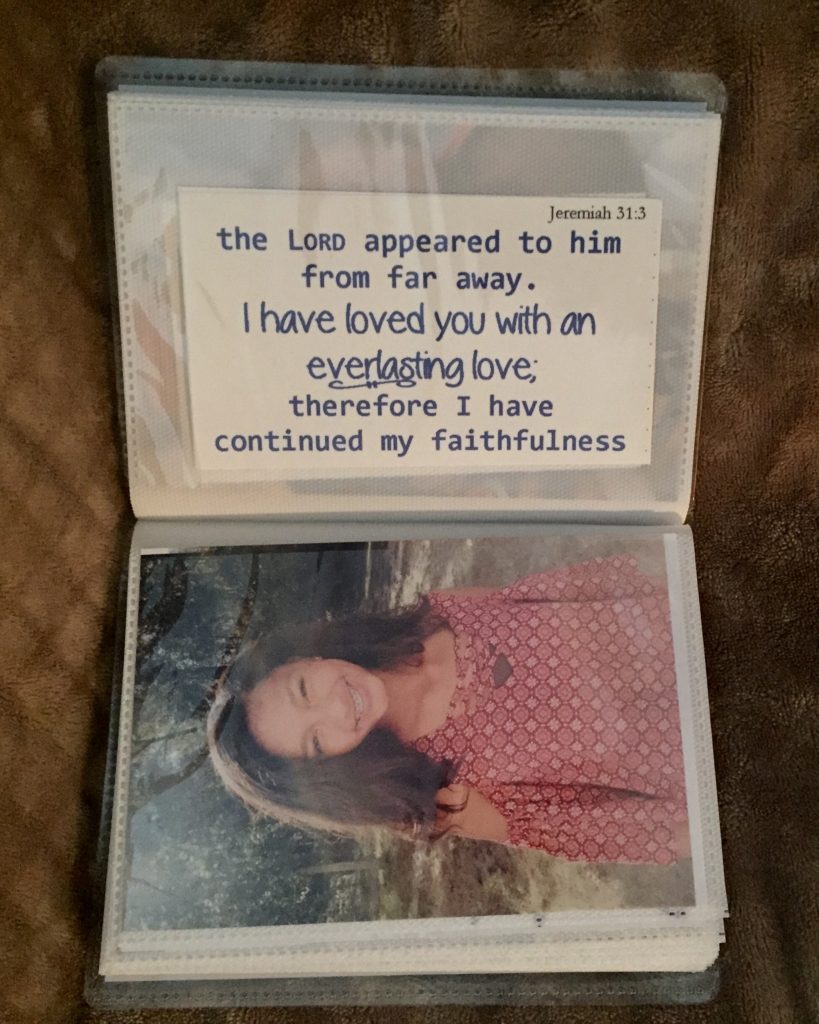
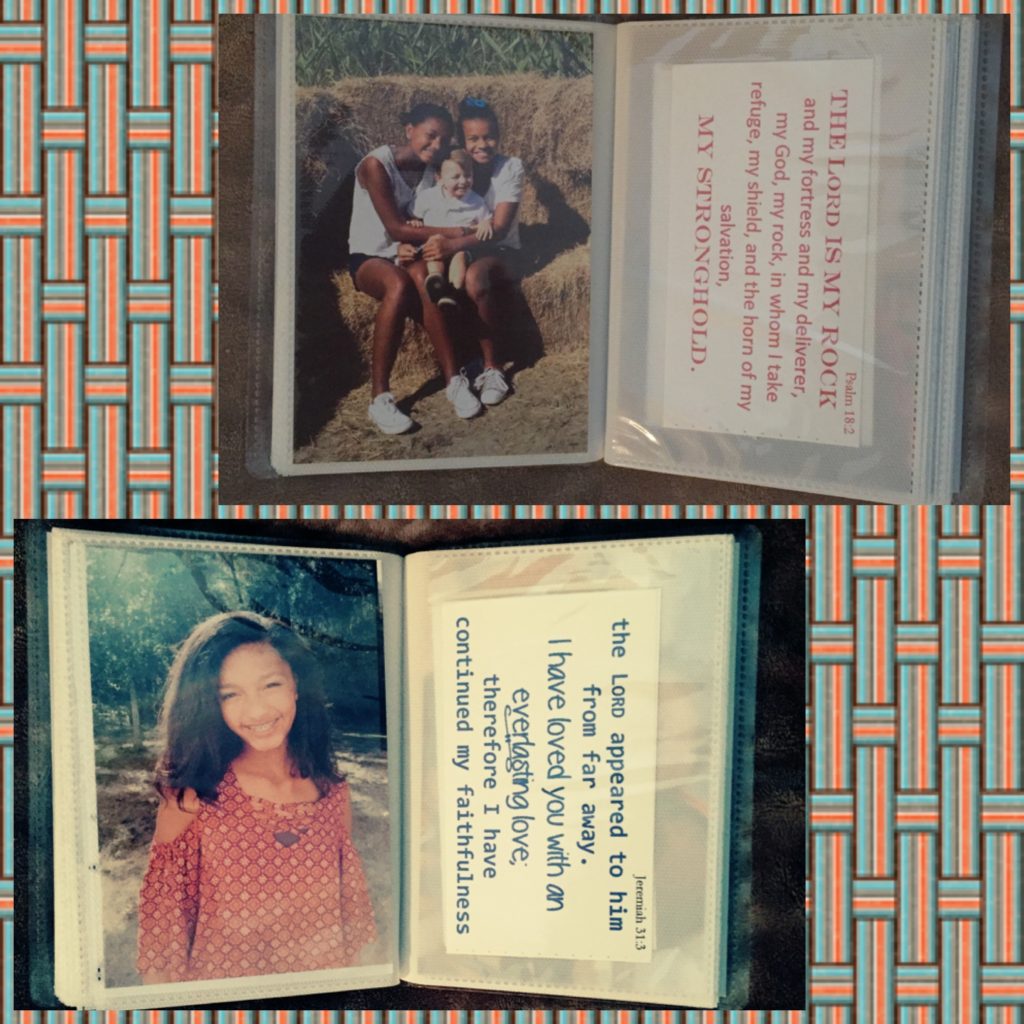
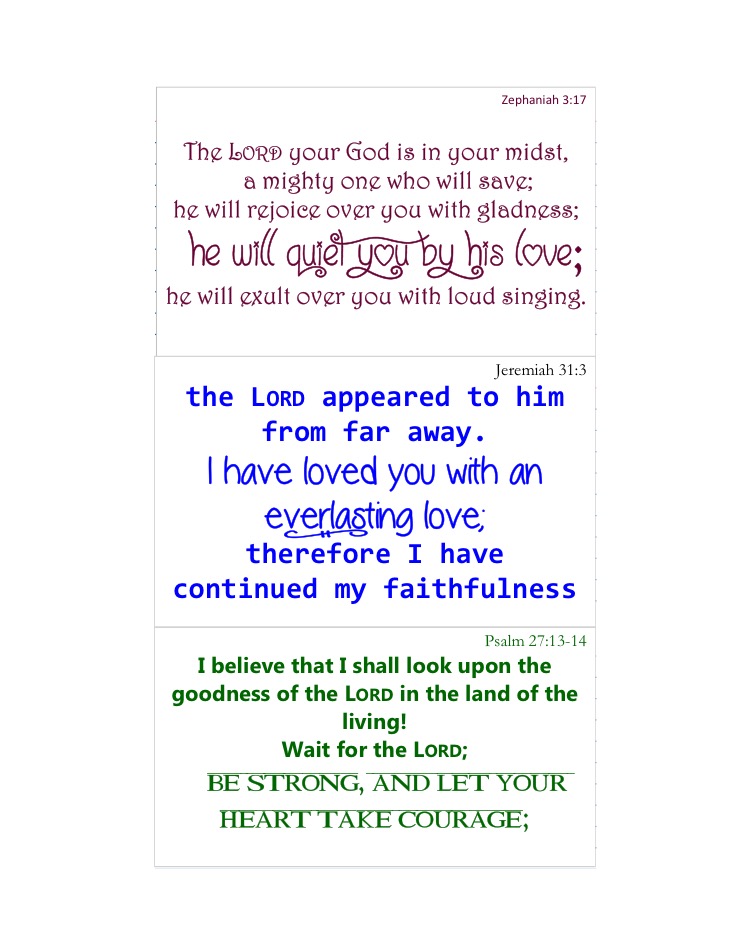
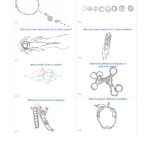
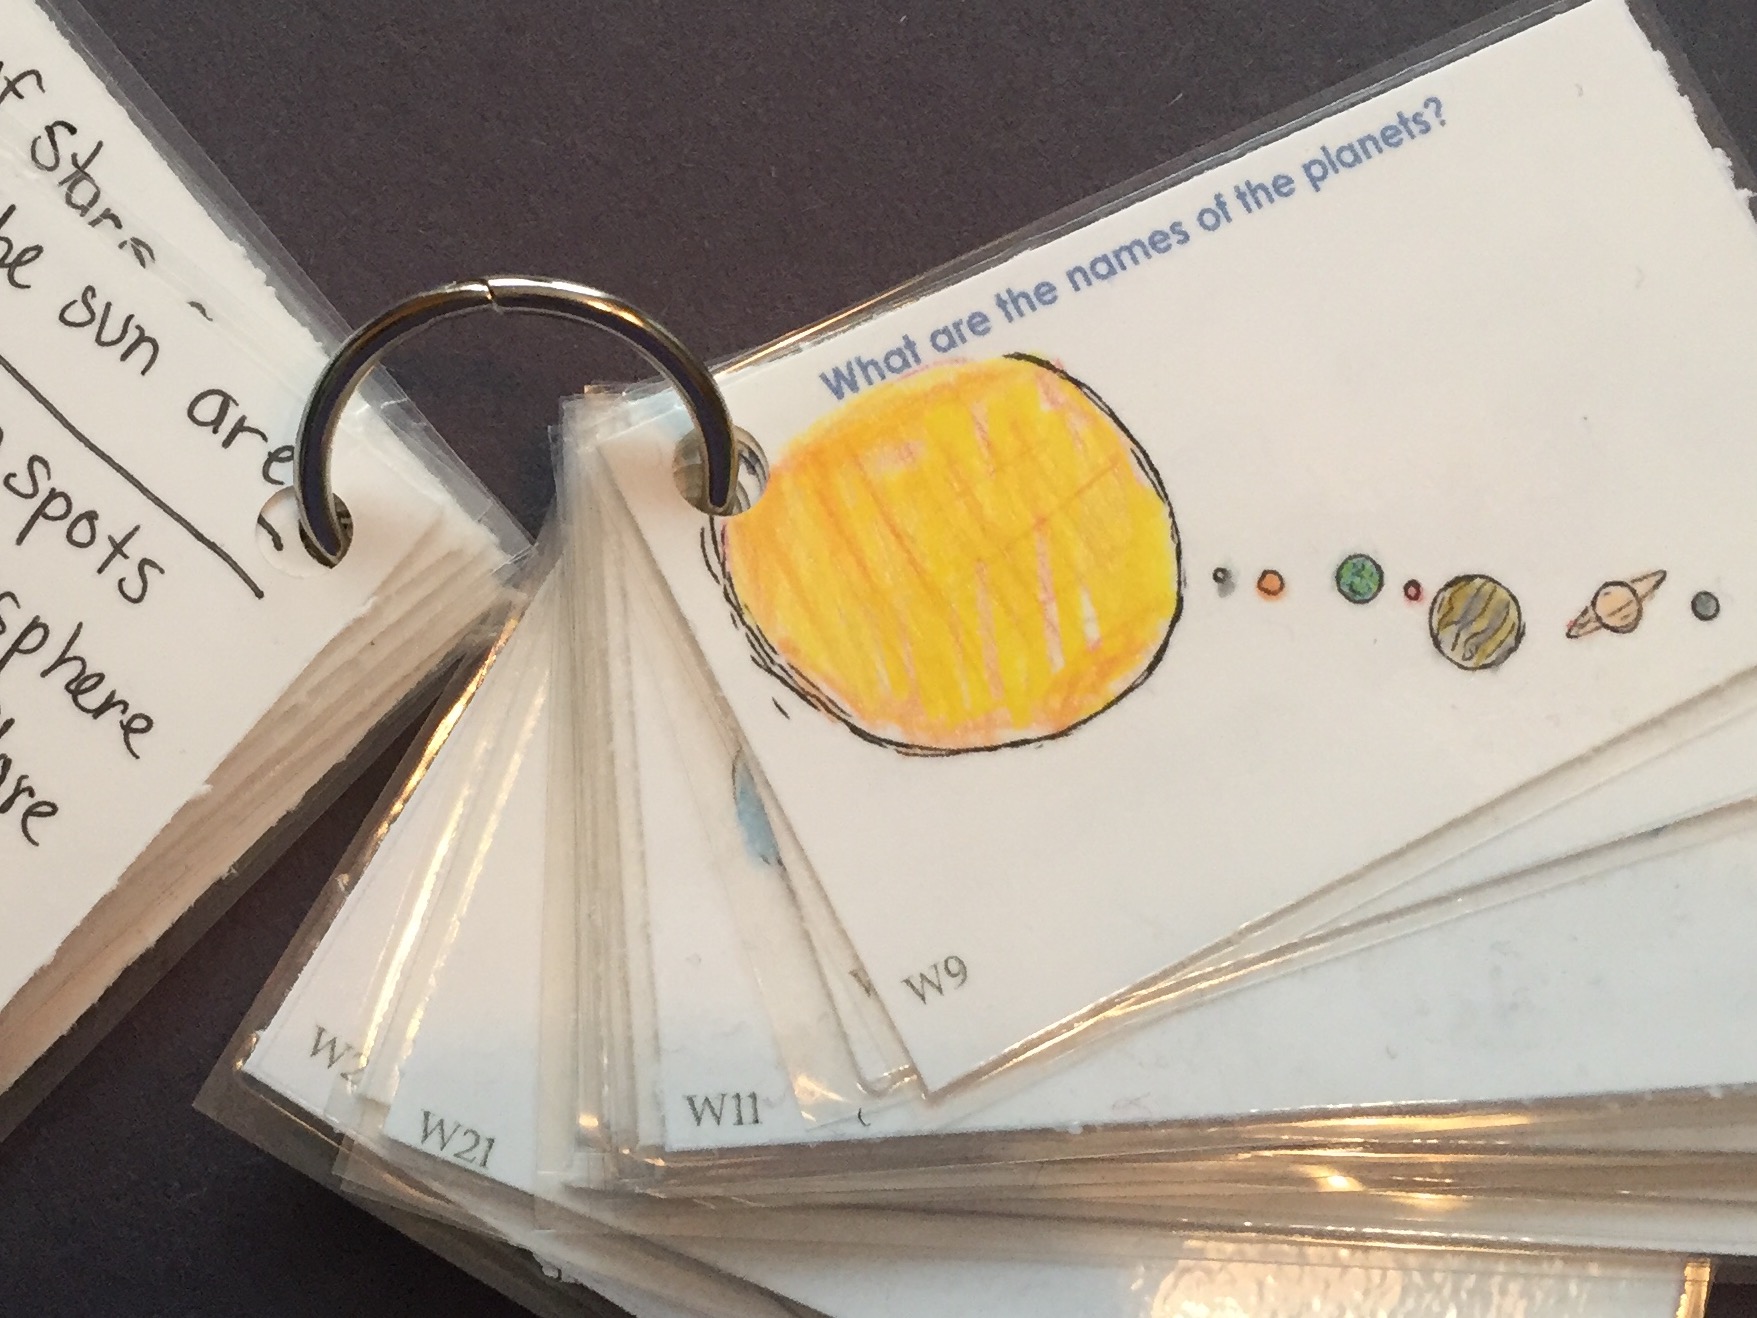
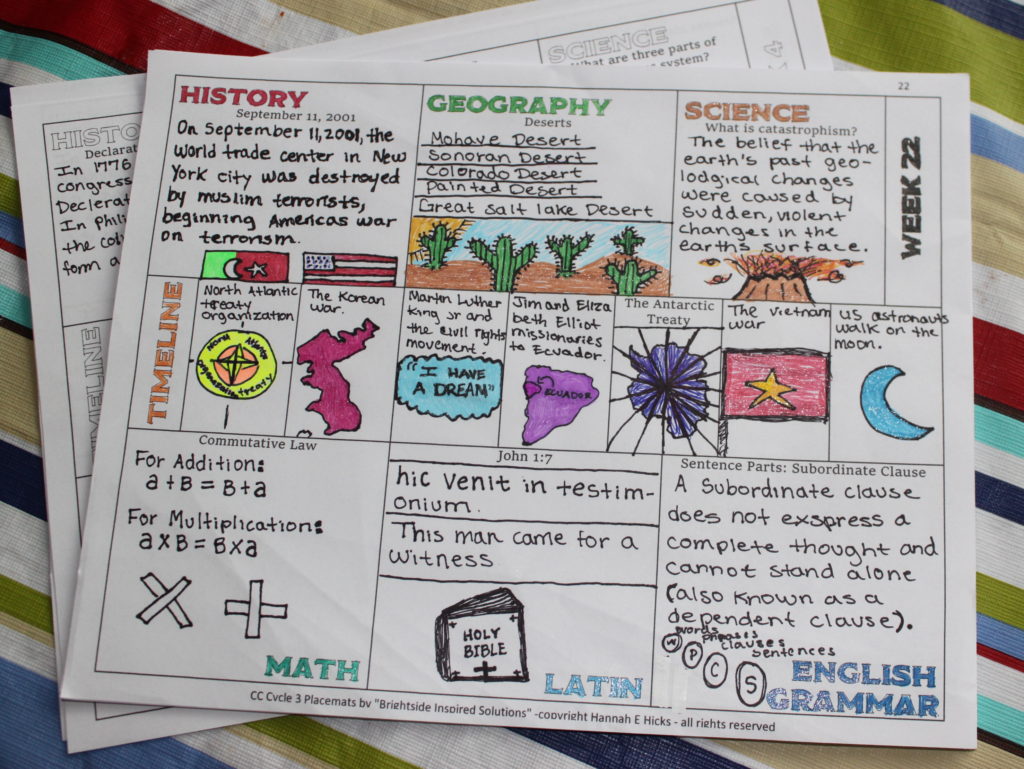
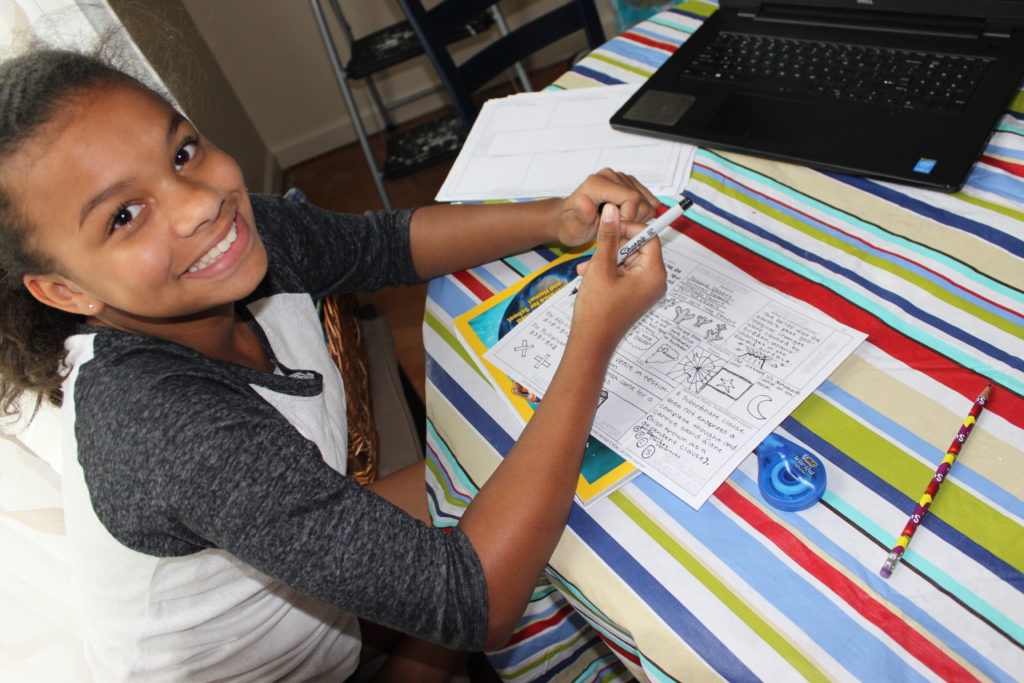
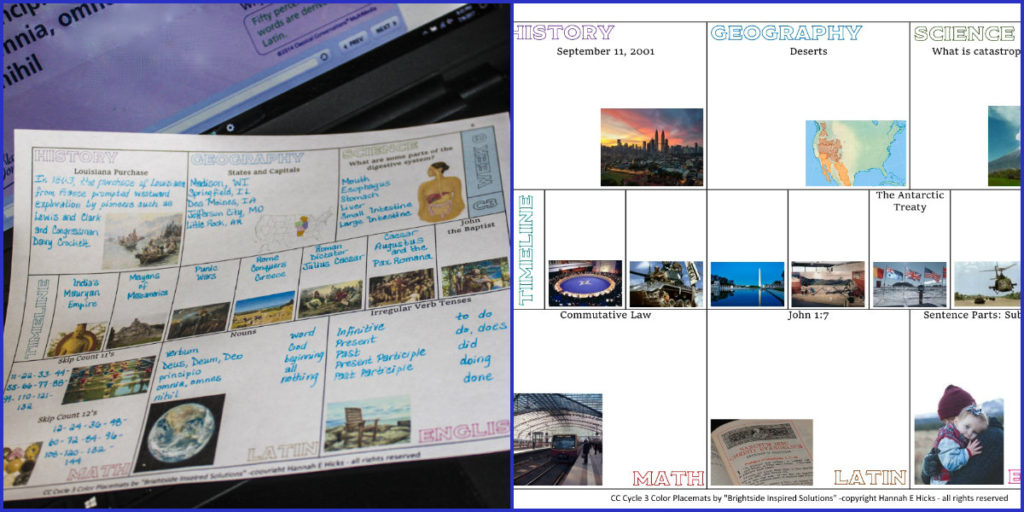
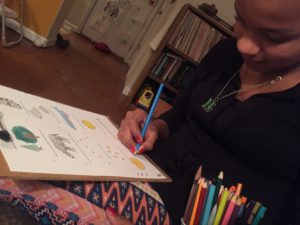
I consider my daughter to be a kinesthetic learner, not a visual learner, but she loves these flashcards. I think it must be the act of coloring and making them. If you have a child in the Classical Conversations Essentials class then you have experienced the IEW Vocab Flashcards. We love them! My daughter has enjoyed coloring them each summer for the coming year. More importantly, she grasps the definitions so much better with those silly pictures. That’s why I decided to make “vocab” cards for her CC memory work this year. I have the science cards done for Cycle 2 and will be adding more (hopefully) each week.

I’m already partially finished with English Grammar.

 You may have this set for FREE and I’m working on the complete set, coming soon!

 Classical Conversations Science Cycle 2

Queen Cupcake Shopkins Hat Crochet Pattern

Crochet Pattern for Queen Cupcake Hat

I received an order for a Queen Cupcake Shopkins hat but wanted something different than what I found online. I also didn’t want a slouch beanie or a bunch of stuffing piled on top of a 7 year old head. This is what I came up with. Cute but still comfortable! I hope you enjoy making this as much as I did!

Skill Level: Intermediate

Material: crochet or yarn needles (I used crochet dude needles which really helped with the small details), small detail scissors, measuring tape

Yarn: *substitute any worsted weight yarn

  • ¼ skein Red Heart Super Saver Turqua*
  • ¼ skein Red Heart Super Saver Perfect Pink*
  • ¼ skein yellow yarn similar to Red Heart Super Saver*

I used what I had on hand for the yellow but I was the same weight and feel as red heart super saver. For the facial features, I used scrap yarn and here is what I know about those:

  • Caron Super Soft Black*
  • Impeccable White (has glitter in it)*
  • Scrap cross stitch thread in a dark brown

Notes: I used invisible joins. You may use any method you are comfortable with.

Abbreviations:
sc – single crochet
dc – double crochet
fpdc – front post double crochet
MR – magic ring
sp – space
slst – slip stitch
crab stitch – reverse single crochet
picot – ch 3, sc in first ch (3rd from hook)
fsc – foundation single crochet
inv – invisible
*…* around – repeat instructions in between the *’s to the end of the round
clean turn – remove hook from loop, insert hook back into loop from the opposite side so that hook faces direction of work after turning; this is optional but makes it easier for sewing and adding trim to uneven edges

Abbreviations / stitches in between commas go in a single stitch.

Hooks: C, D, F, K

Frosting: Hook F, Blue Yarn, Gauge 4” = R1-R5 (approximately)

I took inspiration from the Divine Hat Pattern found on Ravelry but made adjustments for a frosted cupcake look:

R1: ch 2 (does not count as dc here or throughout), 15 dc in MR, inv join (15)

R2: ch 2, fpdc around every dc around, inv join around first fpdc (15)

R3: ch 2, fpdc around fpdc below ch 2, dc between fpdc’s, *fpdc around fpdc from previous row, dc in between fpdc’s* around, inv join (15 fpdc + 15 dc)

R4: ch 2, fpdc around fpdc below ch 2, dc in 1st sp between fpdc and dc, *fpdc around next fpdc, dc in 1st sp between fpdc and dc* around, inv join (15 fpdc, 15 dc)

R5-R6: ch 2, fpdc around fpdc below ch 2, 2 dc in first sp between fpdc and dc, *fpdc around next fpdc, 2 dc in 1st sp between fpdc and dc* around, inv join (15 fpdc, 30 dc) check gauge

R7-R8: ch 2, fpdc around fpdc below ch 2, 3 dc in first sp between fpdc and dc, *fpdc around next fpdc, 3 dc in 1st sp between fpdc and dc* around, inv join (15 fpdc, 45 dc)

R9-R10: ch 2, fpdc around fpdc below ch 2, 4 dc in first sp between fpdc and dc, *fpdc around next fpdc, 4 dc in 1st sp between fpdc and dc* around, inv join (15 fpdc, 60 dc)

R11-R12: ch 2, fpdc around fpdc below ch 2, 5 dc in first sp between fpdc and dc, *fpdc around next fpdc, 5 dc in 1st sp between fpdc and dc* around, inv join, fasten off with long tail, tighten tail left from MR and weave in. (15 fpdc, 75 dc)

Cupcake Wrapper: Hook K, Yellow Yarn, Gauge 4” = 4.5 rows (without stretch)

R0: ch 15, turn

R2: sc across chain, turn (14)

R3-R46: ch 1, sc in back loop, turn (14) check gauge after row 5

Fasten off with long tail. Sew ends together. Weave in both tails.

Using tail from frosting piece, weave down to row 11. Attach cupcake wrapper to frosting top by sewing 3 rows of wrapper to each shell except for every 5th shell where you will sew 4 rows to the shell. (15 shells x 3=45 rows + 1 row every 5th shell = another 3 rows for a total of 48 rows sewn evenly to 15 shells)

Cupcake Wrapper Bottom Edge: Hook K, Yellow Yarn

R1: Attach yellow yarn to bottom edge, ch 1, sc at the bottom of each row, join (48)

R2: ch 1, crab stitch around, fasten off

If you would like the full pattern, you can find it here. Thank you for supporting my family! – Hannah


Birdy Reversible Style Boot Cuffs

I bought my daughter a pair of super high boots for her Halloween costume and she decided she likes to wear them all of the time. Thanks to the current popularity of boot cuffs, she tried on the various styles I had crocheted. They were all too frilly for boots that already make a statement. I made up this reversible boot cuff so that she would have an additional, but classic choice. I love the bird stitch so much that maybe I’ll use it in a matching scarf and hat! 

Skill Level: Easy

Materials: Measuring tape, yarn needle, scissors, stitch marker

Yarn: 2 skeins of Peaches & Crème, White
Substitutions: any worsted weight or 4 ply yarn

Gauge: doesn’t matter for this pattern. See measurement instructions.

Hook Size: H

Size: Standard Adult 12” before stretch

Measure just above boot for circumference. Subtract .5” for width of cuff.

Abbreviations Used:

st or sts – stitch or stitches
ch – chain stitch
sc – single crochet
hdc – half double crochet
fpdc – front post double crochet
bpdc – back post double crochet
sl st – slip stitch
rnd(s) – round(s)
inv join – invisible join

Special Stitches:
Front Post Double Crochet (fpdc) and Back Post Double Crochet (bpdc): see the Moogly video

Post Style Side

Rnd 1: ch. 44 (or length in multiples of 2 required to achieve size), join, sc in same st, sc in each ch around, inv join to first sc (44)

Rnd 2: ch 2 (does not count as bpdc on any round), fpdc around same sc, bpdc next st, *fpdc, bpdc* around, join around the post of first fpdc (22 fpdc + 22 bpdc)

Rnd 3: ch 2, fpdc around same fpdc, bpdc around bpdc from previous row, *fpdc, bpdc* around, join around the post of first fpdc (22 fpdc + 22 bpdc)

Rnd 4-7: Repeat rnd 3 (22 fpdc + 22 bpdc)


Birdy Style Side

Rnd 8: ch 2, *hdc in same st, sl st in next st* around, insert stitch marker between last and first stitch of next round, do not join (skip ch 2 from previous round so count remains even)

Rnd 9-17: Repeat rnd 8 without joining (22 hdc, 22 sl st)

Note: if the rounds are done properly you will notice a diagonal pattern developing

Rnd 18: sc around, sl st twice, fasten off


I hope you enjoy the pdf version of this pattern here:

Birdy Reversible Style Boot Cuff Crochet Pattern PDF

We use sales of patterns and crocheted items to assist with homeschool costs. Thank you for supporting my family! You can find this pattern on Ravelry.

Copyright Notice:

You are welcome to sell your finished items from this pattern. However, please do not copy, share, or redistribute the pattern itself in any manner. Please provide a link to my website if you choose to sell your finished items online, even if adjustments or embellishments have been made to my pattern. If you change the name to the item when you sell, mention the pattern name and link so that other people can find it).

You may link in this way: Birdy Reversible Style Boot Cuff Crochet Pattern by Hannah at brightsideis.com.

If you have any questions or need help with this pattern, please contact me at [email protected] as I am happy to help you. Thank you for supporting my family by purchasing a pattern. – Hannah


8 Things you never say to a pregnant woman

8 Things You NEVER Say to a Pregnant Woman

In my third trimester of my 4th pregnancy, I’ve endured an unreal amount of torture from flippant comments. I can’t even believe some of these myself considering I’ve remained outside of prison thus far. Here’s a list of actual comments I’ve received. Please pass them on to your friends who lack common sense.

  1. You’re pregnant?!? Why are you exclaiming this with such incredulity? Thanks for pointing out any number of things like I’m just fat enough to be riddled with this question or shouldn’t be pregnant for some reason. What would I do without you to remind me? For some, it may be due to the fact that I’m baking my 4th child, but that is not your business. Just say congratulations with a smile.
  2. You only have one in there? Yes JUST ONE. Once again, thanks for reminding me that I don’t just look pregnant, but fat. The hormones aren’t enough to depress me – I needed your help. Just say congratulations with a smile.
  3. Are you having twins? Review the last comment. And really?
  4. You’re doing this AGAIN?!? Once again, your incredulity is making me want to punch you in the face. Why is it your business how many times I am willing to go through incredible torture for the gift of an amazing & beautiful human being? I’m not going to list all the assumptions I think you are making right now (like how you think I can’t afford another child) so just say congratulations with a smile.
  5. Did you plan this?!? Why don’t you plan to keep your trap shut when you hear news that you aren’t exactly on board for? I’m all for transparency when it’s for a reason. This isn’t one of those reasons. Ask yourself, “Is it my business?”. Then just say congratulations and smile.
  6. Wow, you have a long way to go. Though I am intimately acquainted with my due date, somehow you thought it appropriate to remind me of the remaining months I’ll have to enjoy the rigors of pregnancy. Please, go offer your assistance to someone else or just say congratulations and smile.
  7. You must really love kids. I just can’t. Just say congratulations, smile, and don’t talk to me again.
  8. Good for you because I could never do it. Do I really need to translate how this comes across? Why don’t I start throwing out that comment for everything you have going on, like “wow, good for you marrying him because I could never do it”! Now how does it sound? Just say congratulations and smile.