Category: Crochet Gifts

Gone Sailing Crochet Boat

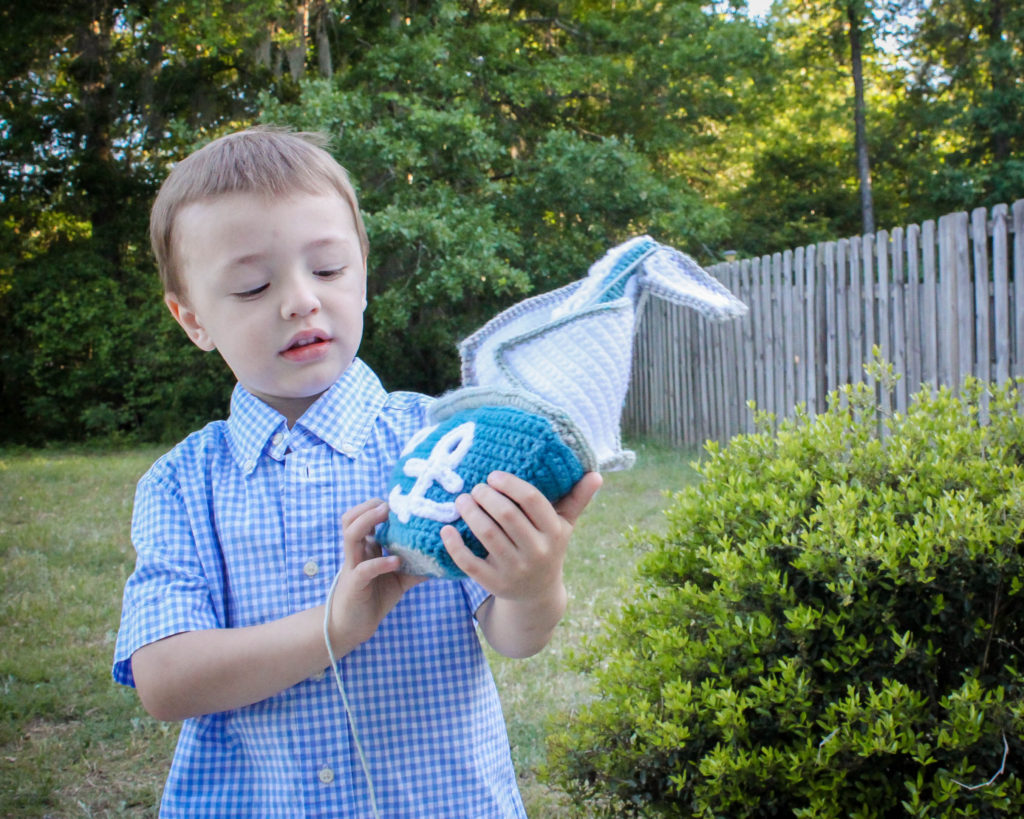
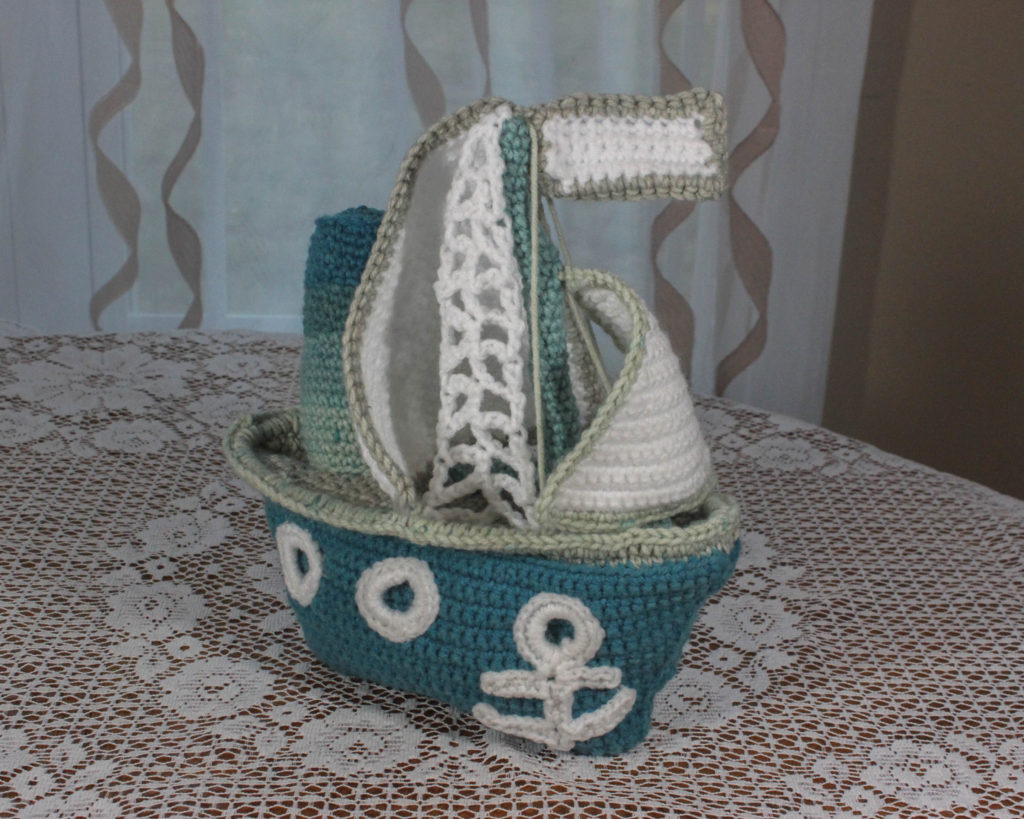
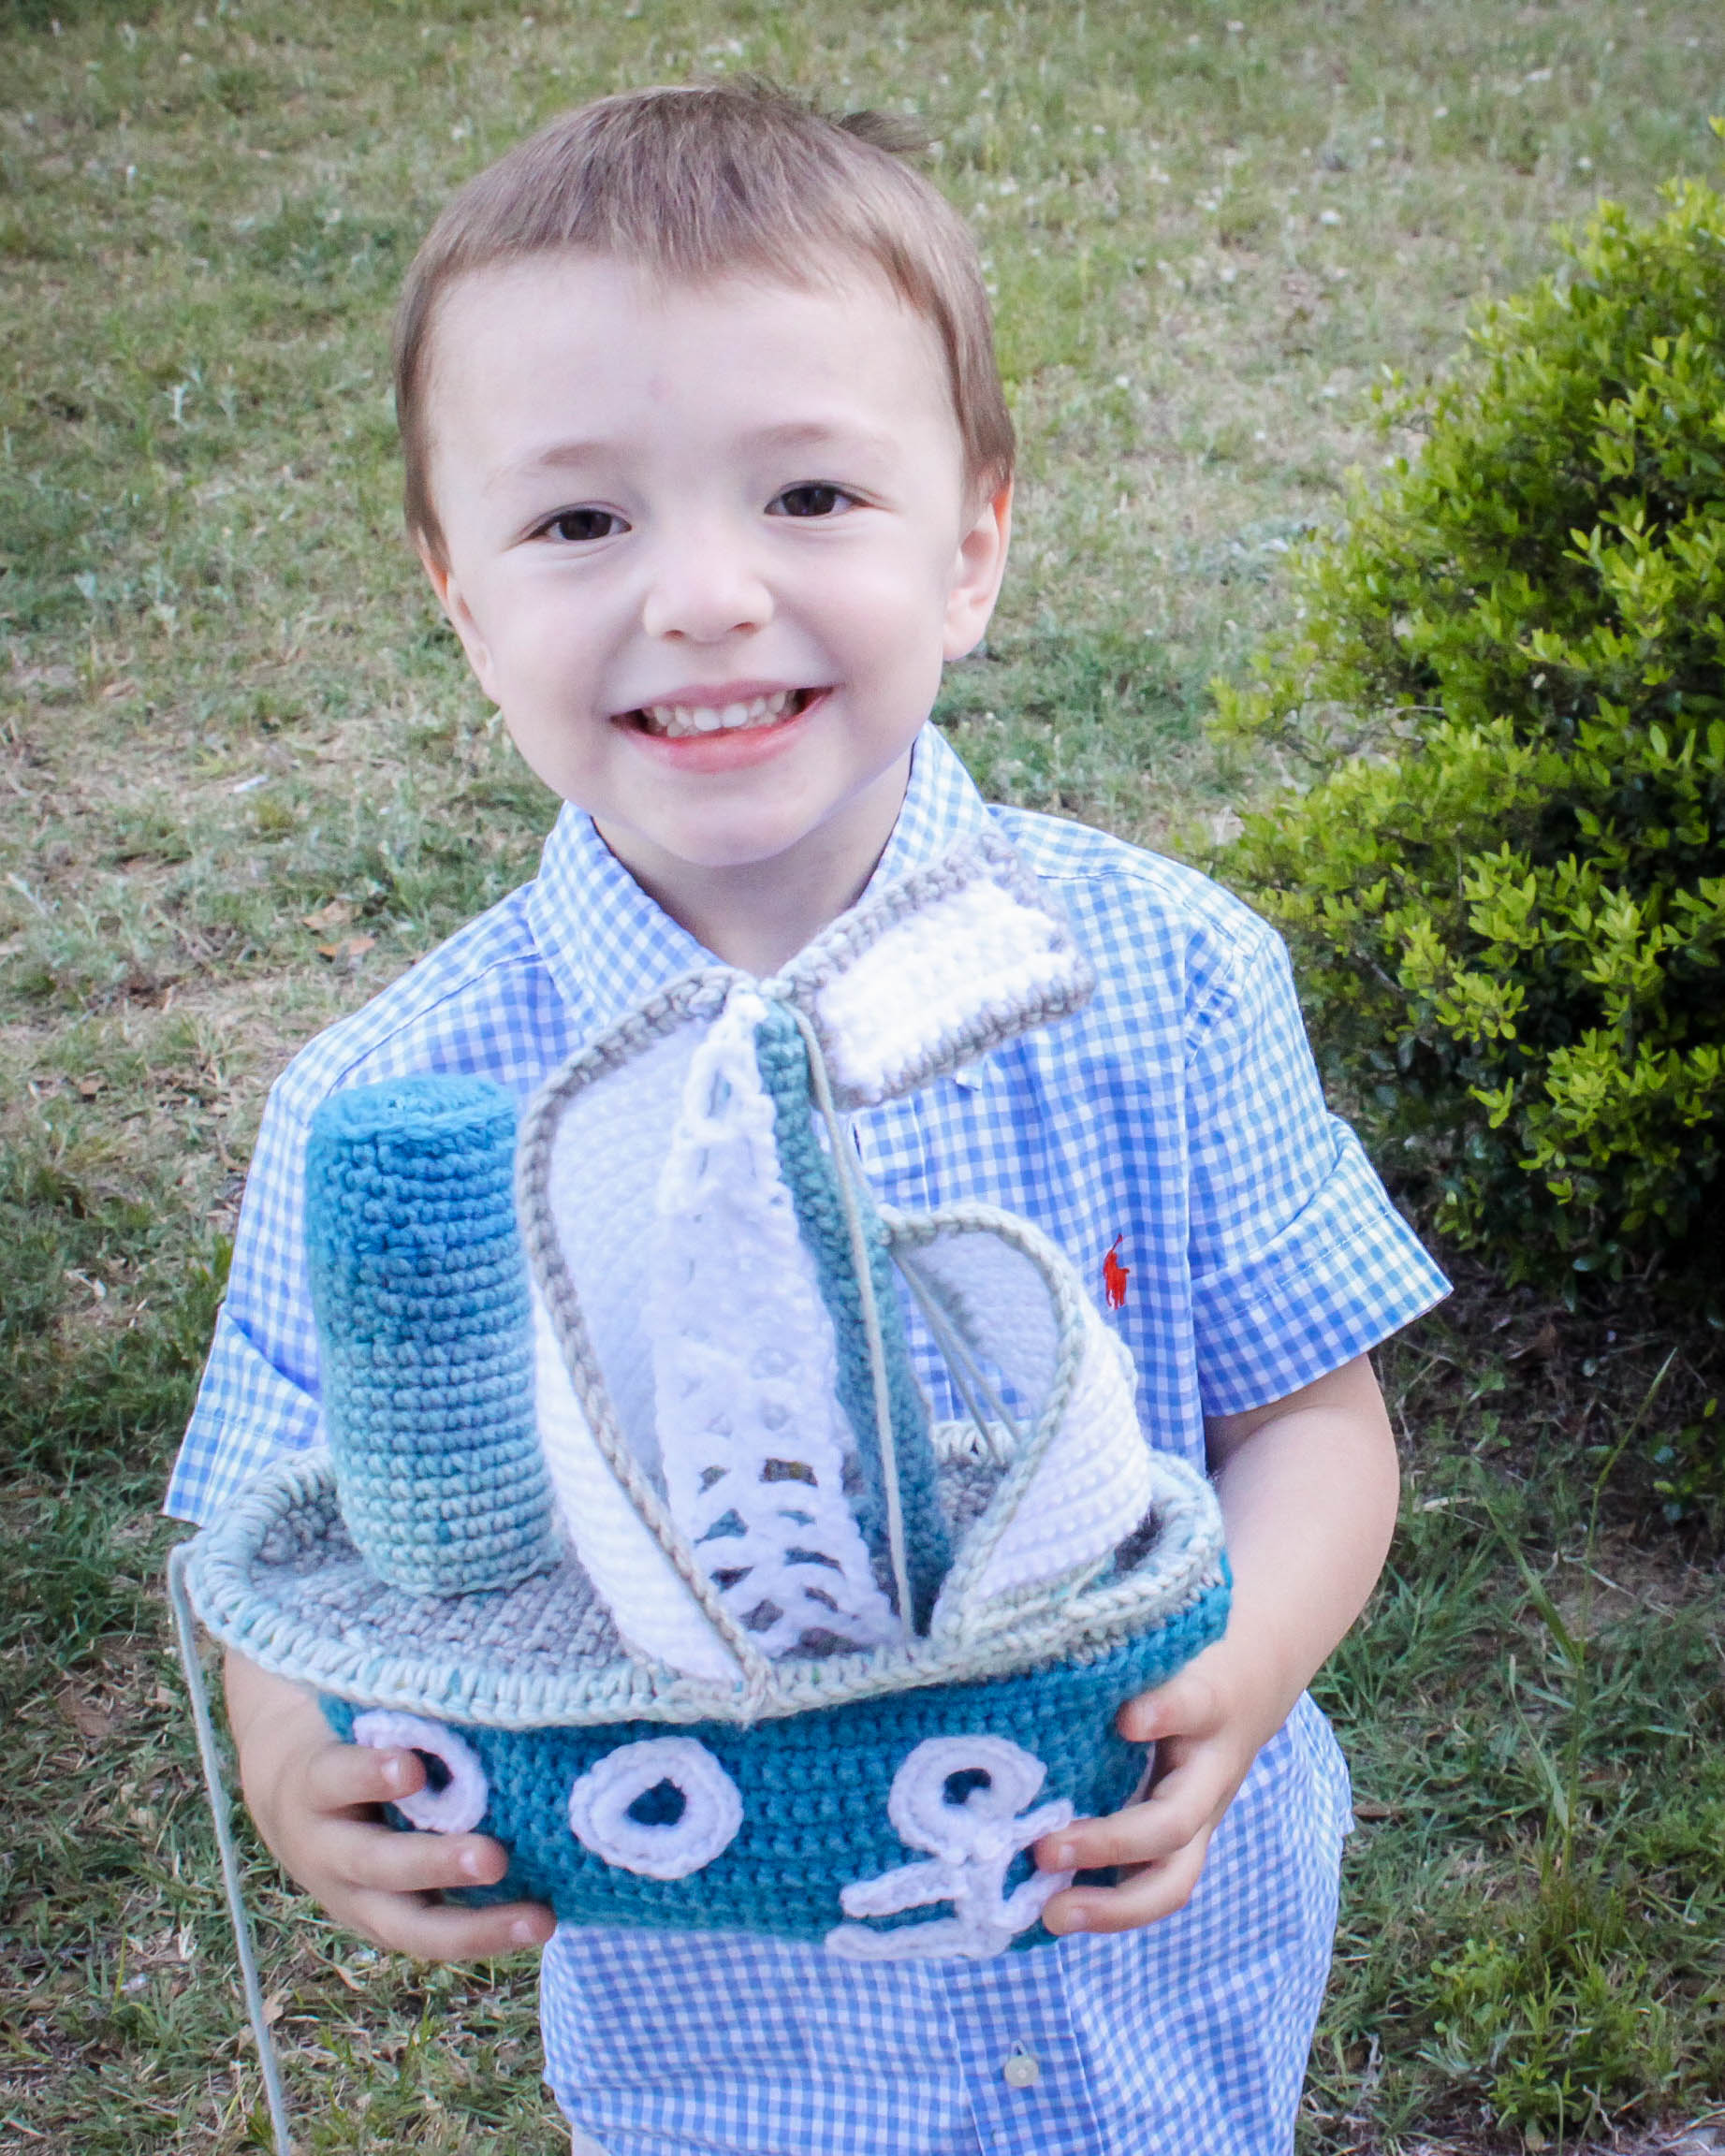
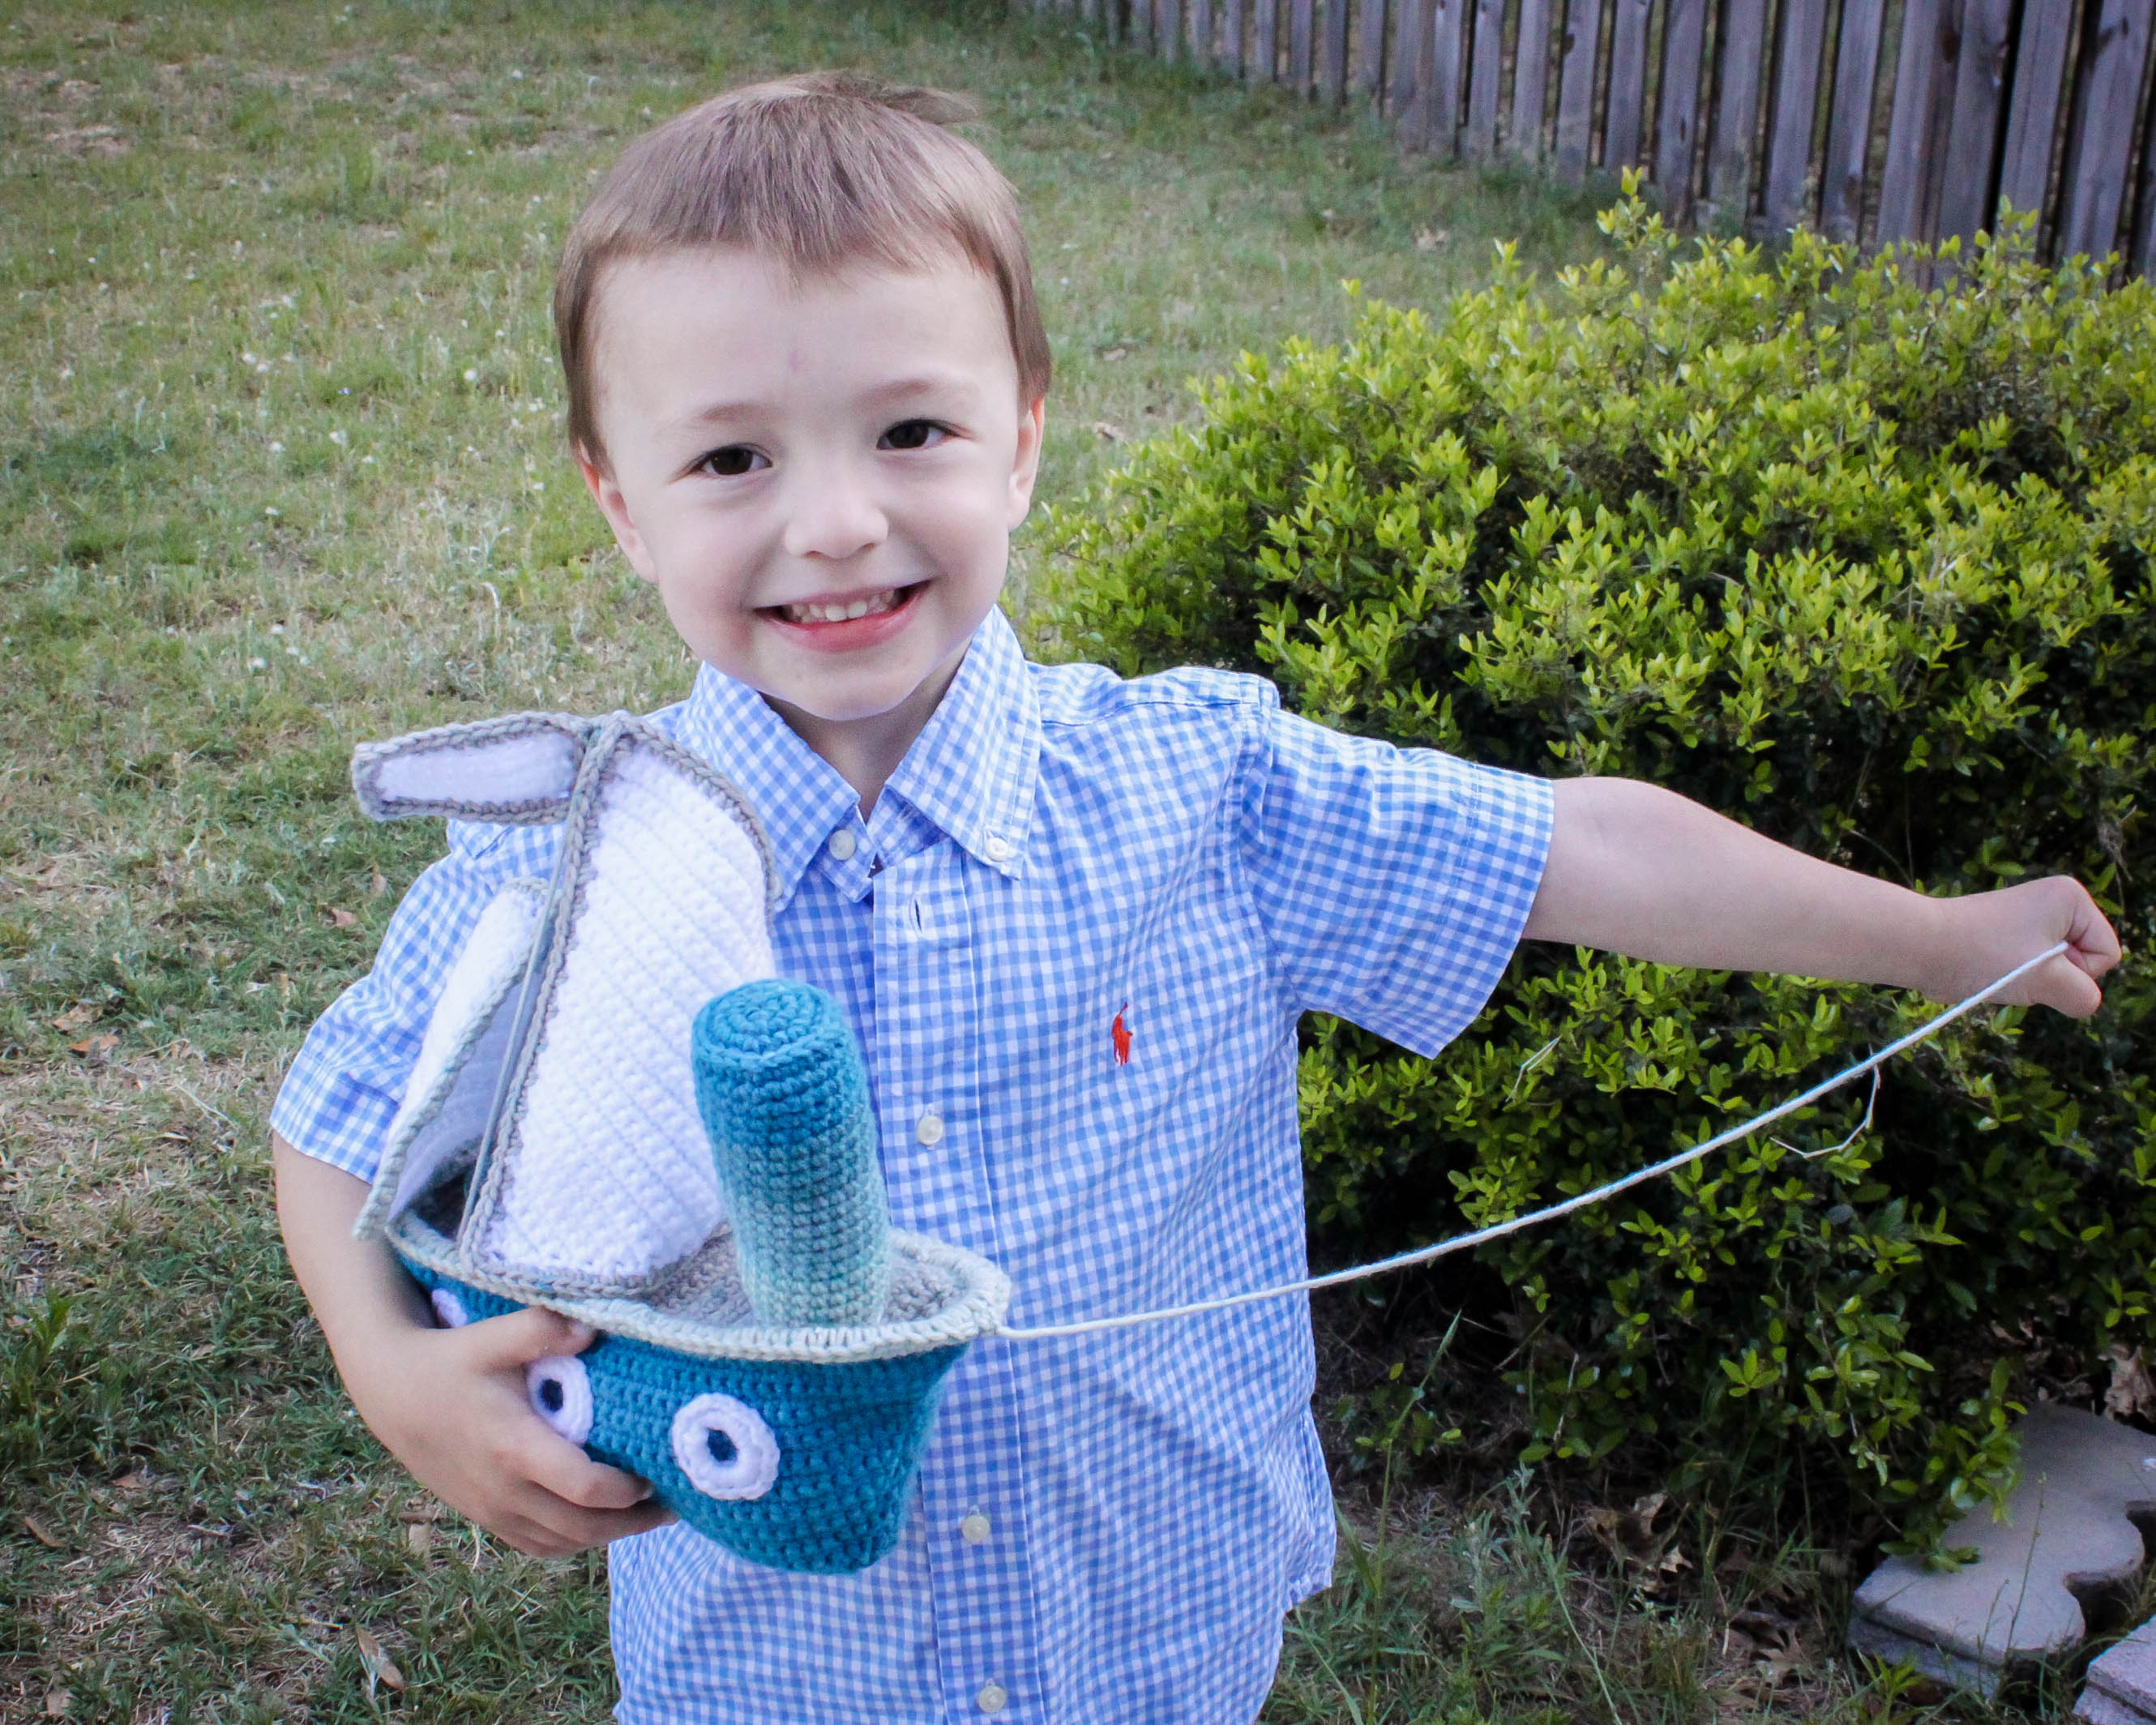
My little boy asked for a toy boat. How precious! He waited patiently for it too. I wanted to simply find a pattern and whip something up for him, but the one I liked best needed translating. You can see the yarnsmile site boat here

Some of this pattern is translated from the yarnsmile site (thank you for this beautiful model!) and other parts I’ve changed. I would love to give full credit to my inspiration! 

I would recommend this toy for ages 5+ as it has some pieces that require careful handling. If you can think of a way to make it better for a young child – please let me know! My son is nearly four here and he plays well with it as long as his 18 month brother isn’t interfering.

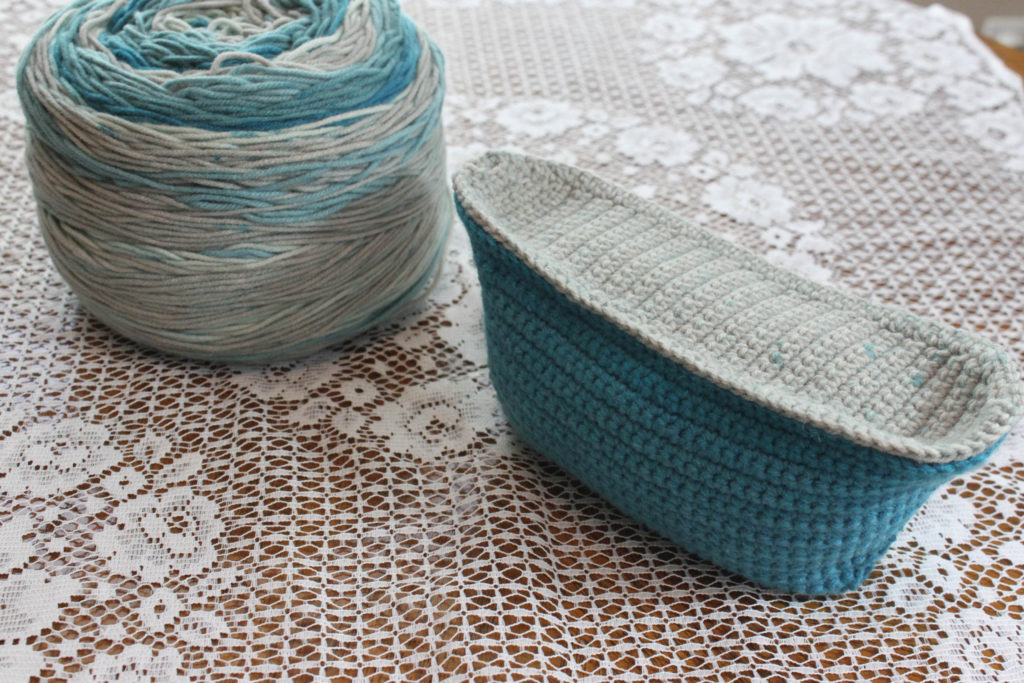
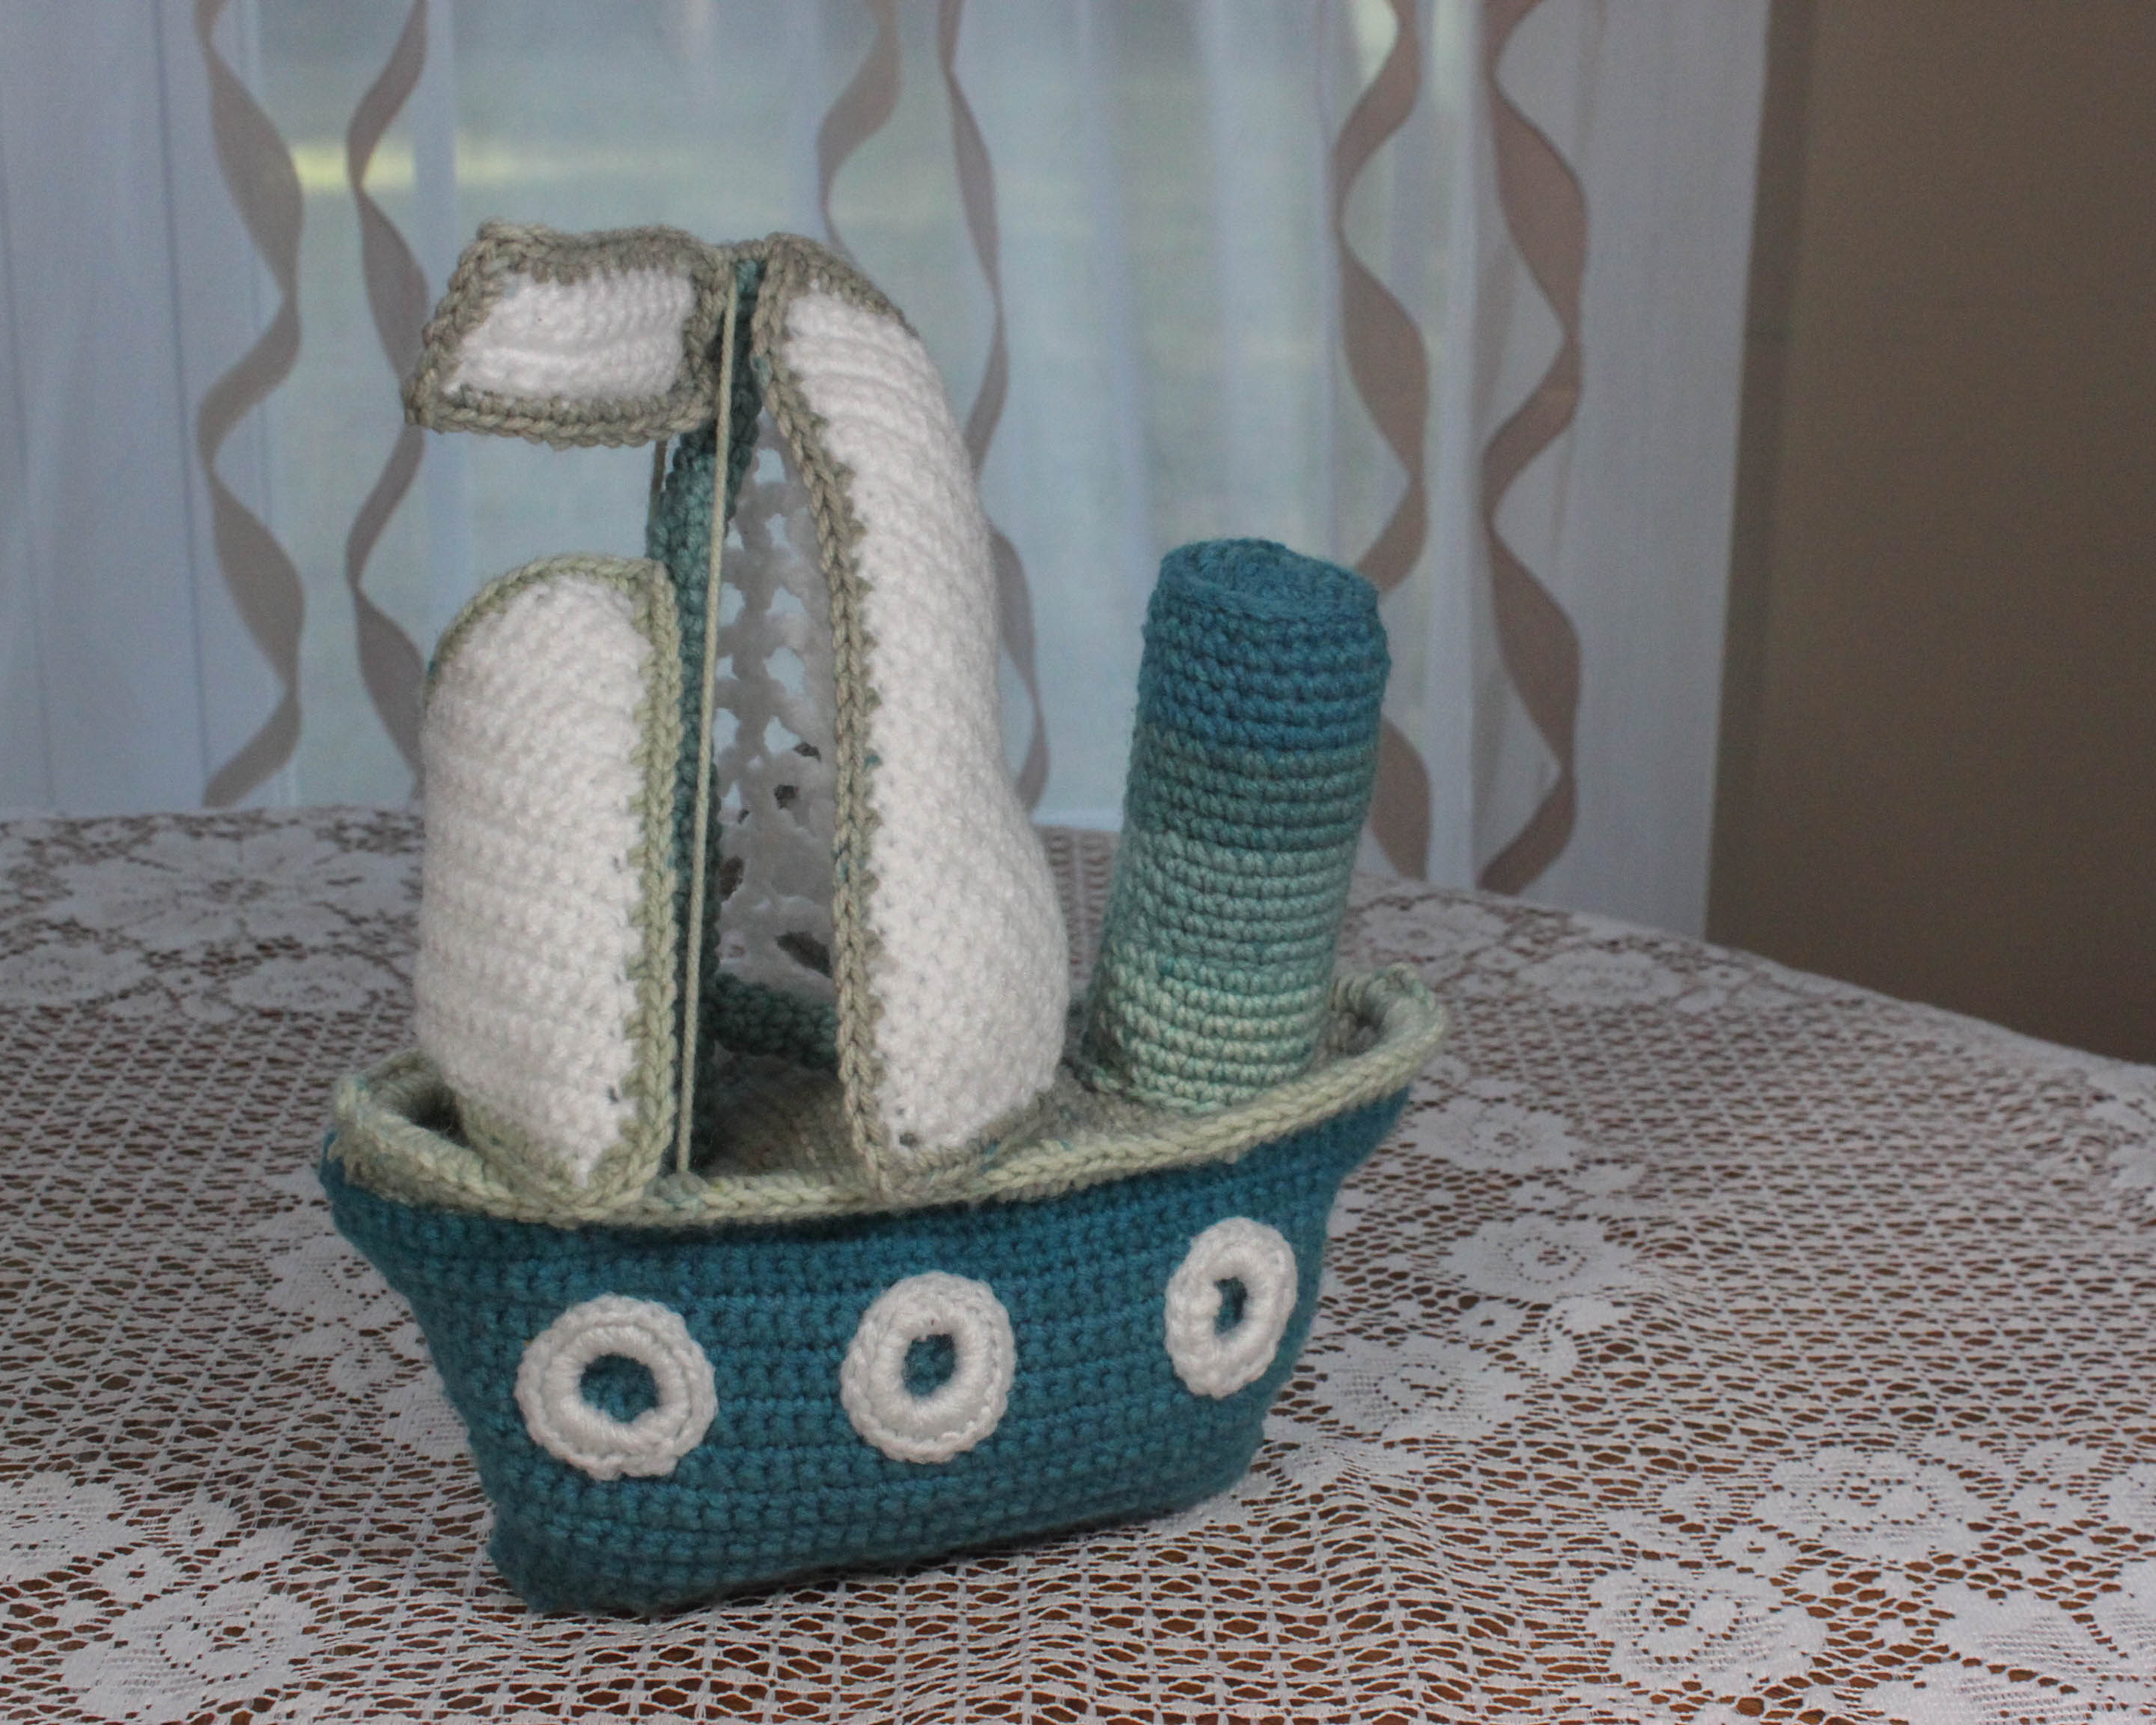
I’m happy to present this pattern for free especially since I was able to translate much of it without creating a model from scratch. I used a Caron Cake that I had purchased as part of a blanket planned for my son. Now he will have a matching boat to fit perfectly into his shark themed room.

I hope you enjoy the pattern!

Skill Level: Intermediate

Materials: yarn needle, scissors, polyester fiberfill, craft wire, wire hanger, cardboard

Yarn: Blue Macaron Caron Cake, I Love this Yarn in White

Substitutions: any worsted weight cotton or soft material yarn suitable for children

Hook Size: D

Abbreviations Used:

MR: magic ring

st or sts: stitch or stitches

ch: chain

slst: slip stitch

sk: skip a stitch

sc: single crochet

dc: double crochet

inc: increase

dec: decrease

Special Stitches:

Invisible Join: pull hook out of loop, insert hook into slst just made from opposite side of work, pull loop up to the other side and continue work as usual
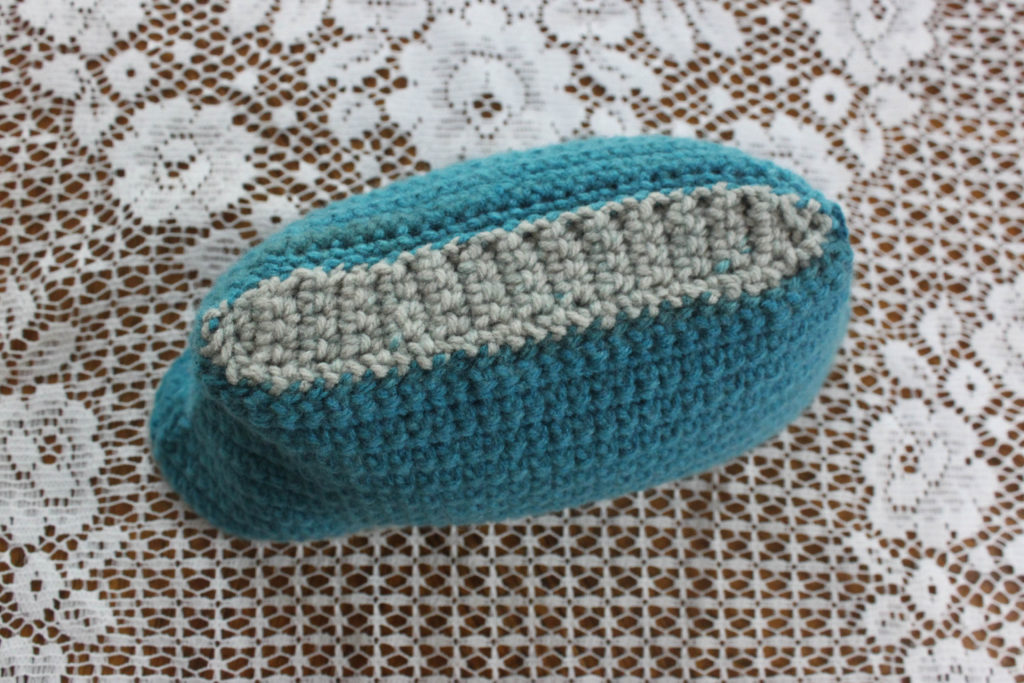
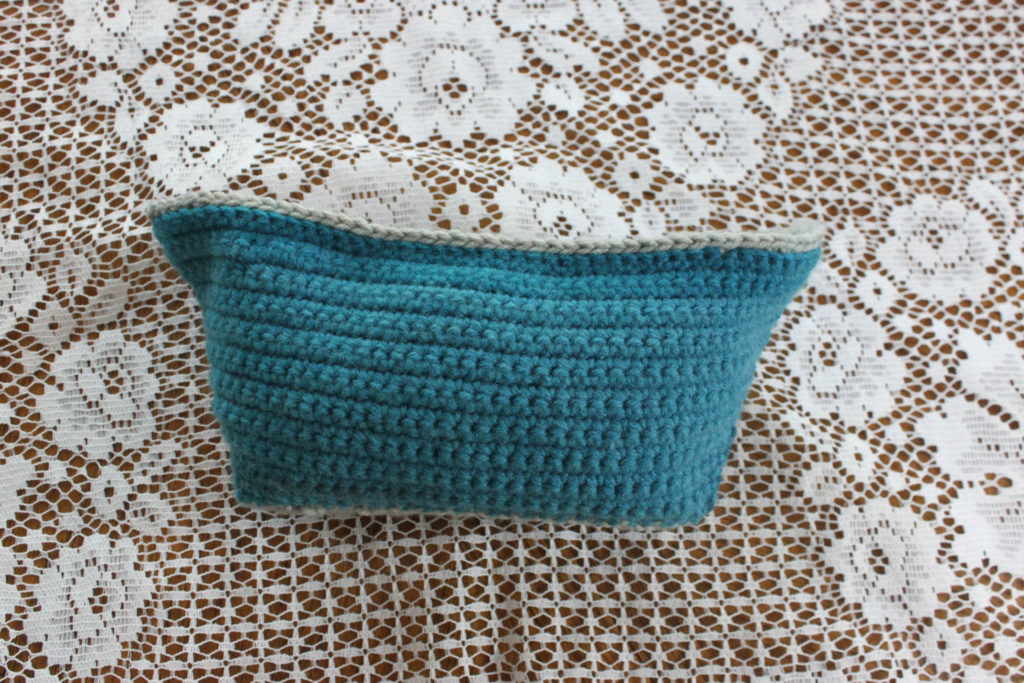
BOTTOM

Light taupe color with teal specks

1) ch 4, 3 sc in 4th ch from hook, turn (3 sc)
2) ch 1, sc 4 (last in in ch), turn (4)
3-25) ch 1, sc 4, turn (4)
26) ch 3, sk 2, slst 2, turn
27) sk, slst, sc around piece

from sturdy cardboard, cut matching piece to fit to bottom

SIDES

Darkest teal color, make 2

1) ch 31, sc 2nd ch from hook, sc 29, turn (30)
2) ch 1, inc, sc 28, inc, turn (32)
3) ch 1, sc 32, turn (32)
4) ch 1, inc, sc 30, inc, turn (34)
5) ch 1, sc 34, turn (34)
6) ch 1, inc, sc 32, inc, turn (36)
7) ch 1, sc 36, turn (36)
8) ch 1, inc, sc 34, inc, turn (38)
9) ch 1, sc 38, turn (38)
10) ch 1, inc, sc 36, inc, turn (40)
11) ch 1, sc 40, turn (40)
12) ch 1, inc, sc 38, inc, turn (42)
13) ch 1, sc 42, turn (42)
14) ch 1, inc, sc 40, inc, turn (44)
15) ch 1, sc 44, turn (44)
16) ch 1, inc, sc 42, inc, turn (46)
17) ch 1, sc 46, turn (46)
18) ch 1, inc, sc 44, inc, turn (48)
19) ch 1, sc 48, turn (48)
20) ch 1, inc, sc 46, inc, turn (50)

DECK

Using grayish color

1) ch 4, 3 sc in 4th ch from hook, turn (3 sc)
2) ch 1, inc, sc 2, inc (in ch), turn (6)
3) ch 1, inc, sc 4, inc, turn (8)
4) ch 1, inc, sc 6, inc, turn (10)
5) ch 1, inc, sc 8, inc, turn (12)
6-43) ch 1, sc 12, turn (12)
44) ch 1, dec, sc 8, dec, turn (10)
45) ch 1, dec, sc 6, dec, turn (8)
46) ch 1, dec, sc 4, dec, turn (6)
47) ch 1, dec, sc 2, dec, turn (4)
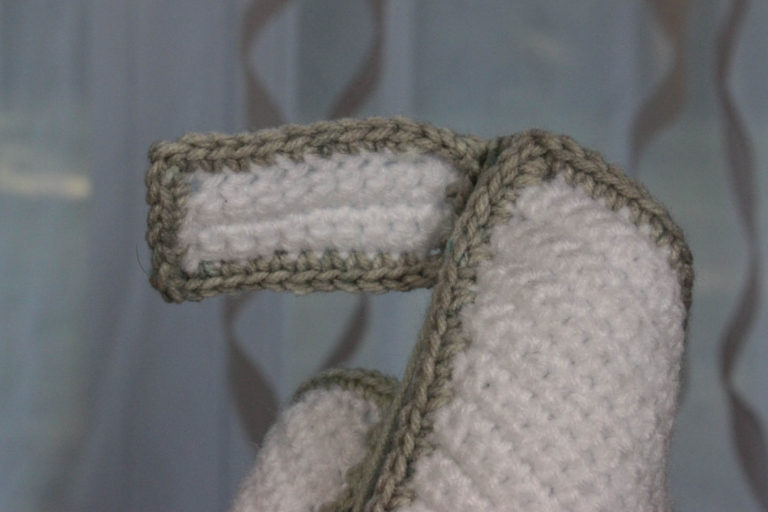
48) ch 3, sk 2, slst 2, turn
49) sk, slst, sc around piece
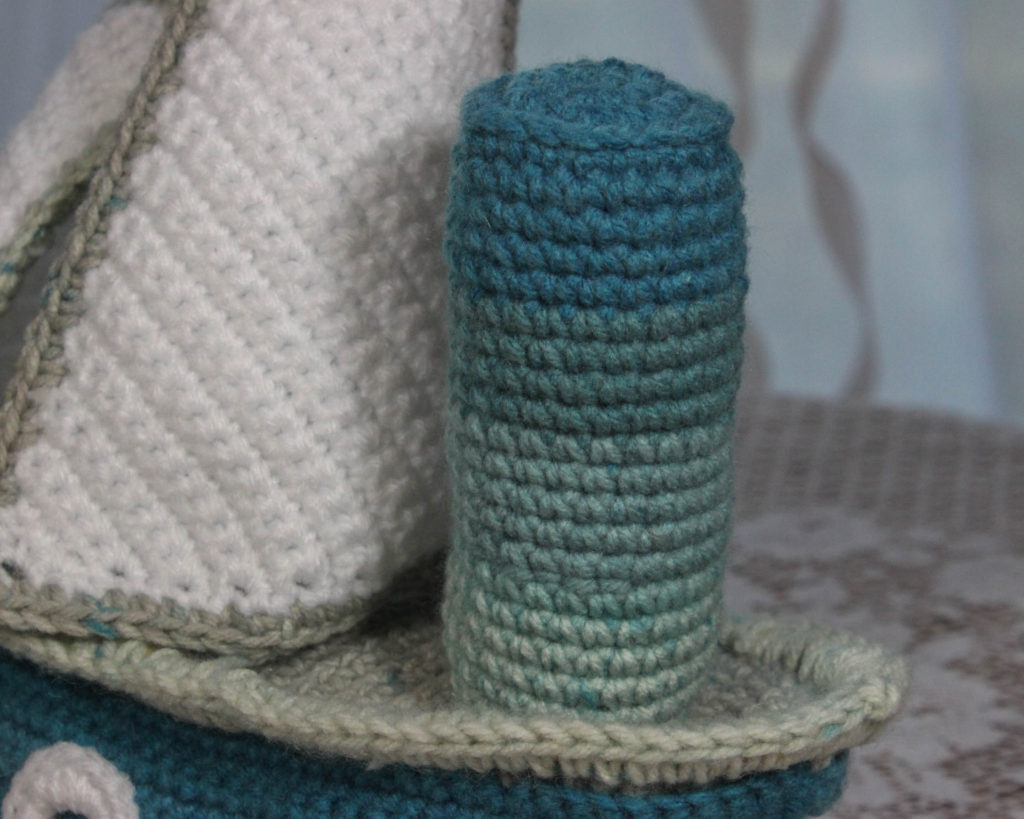
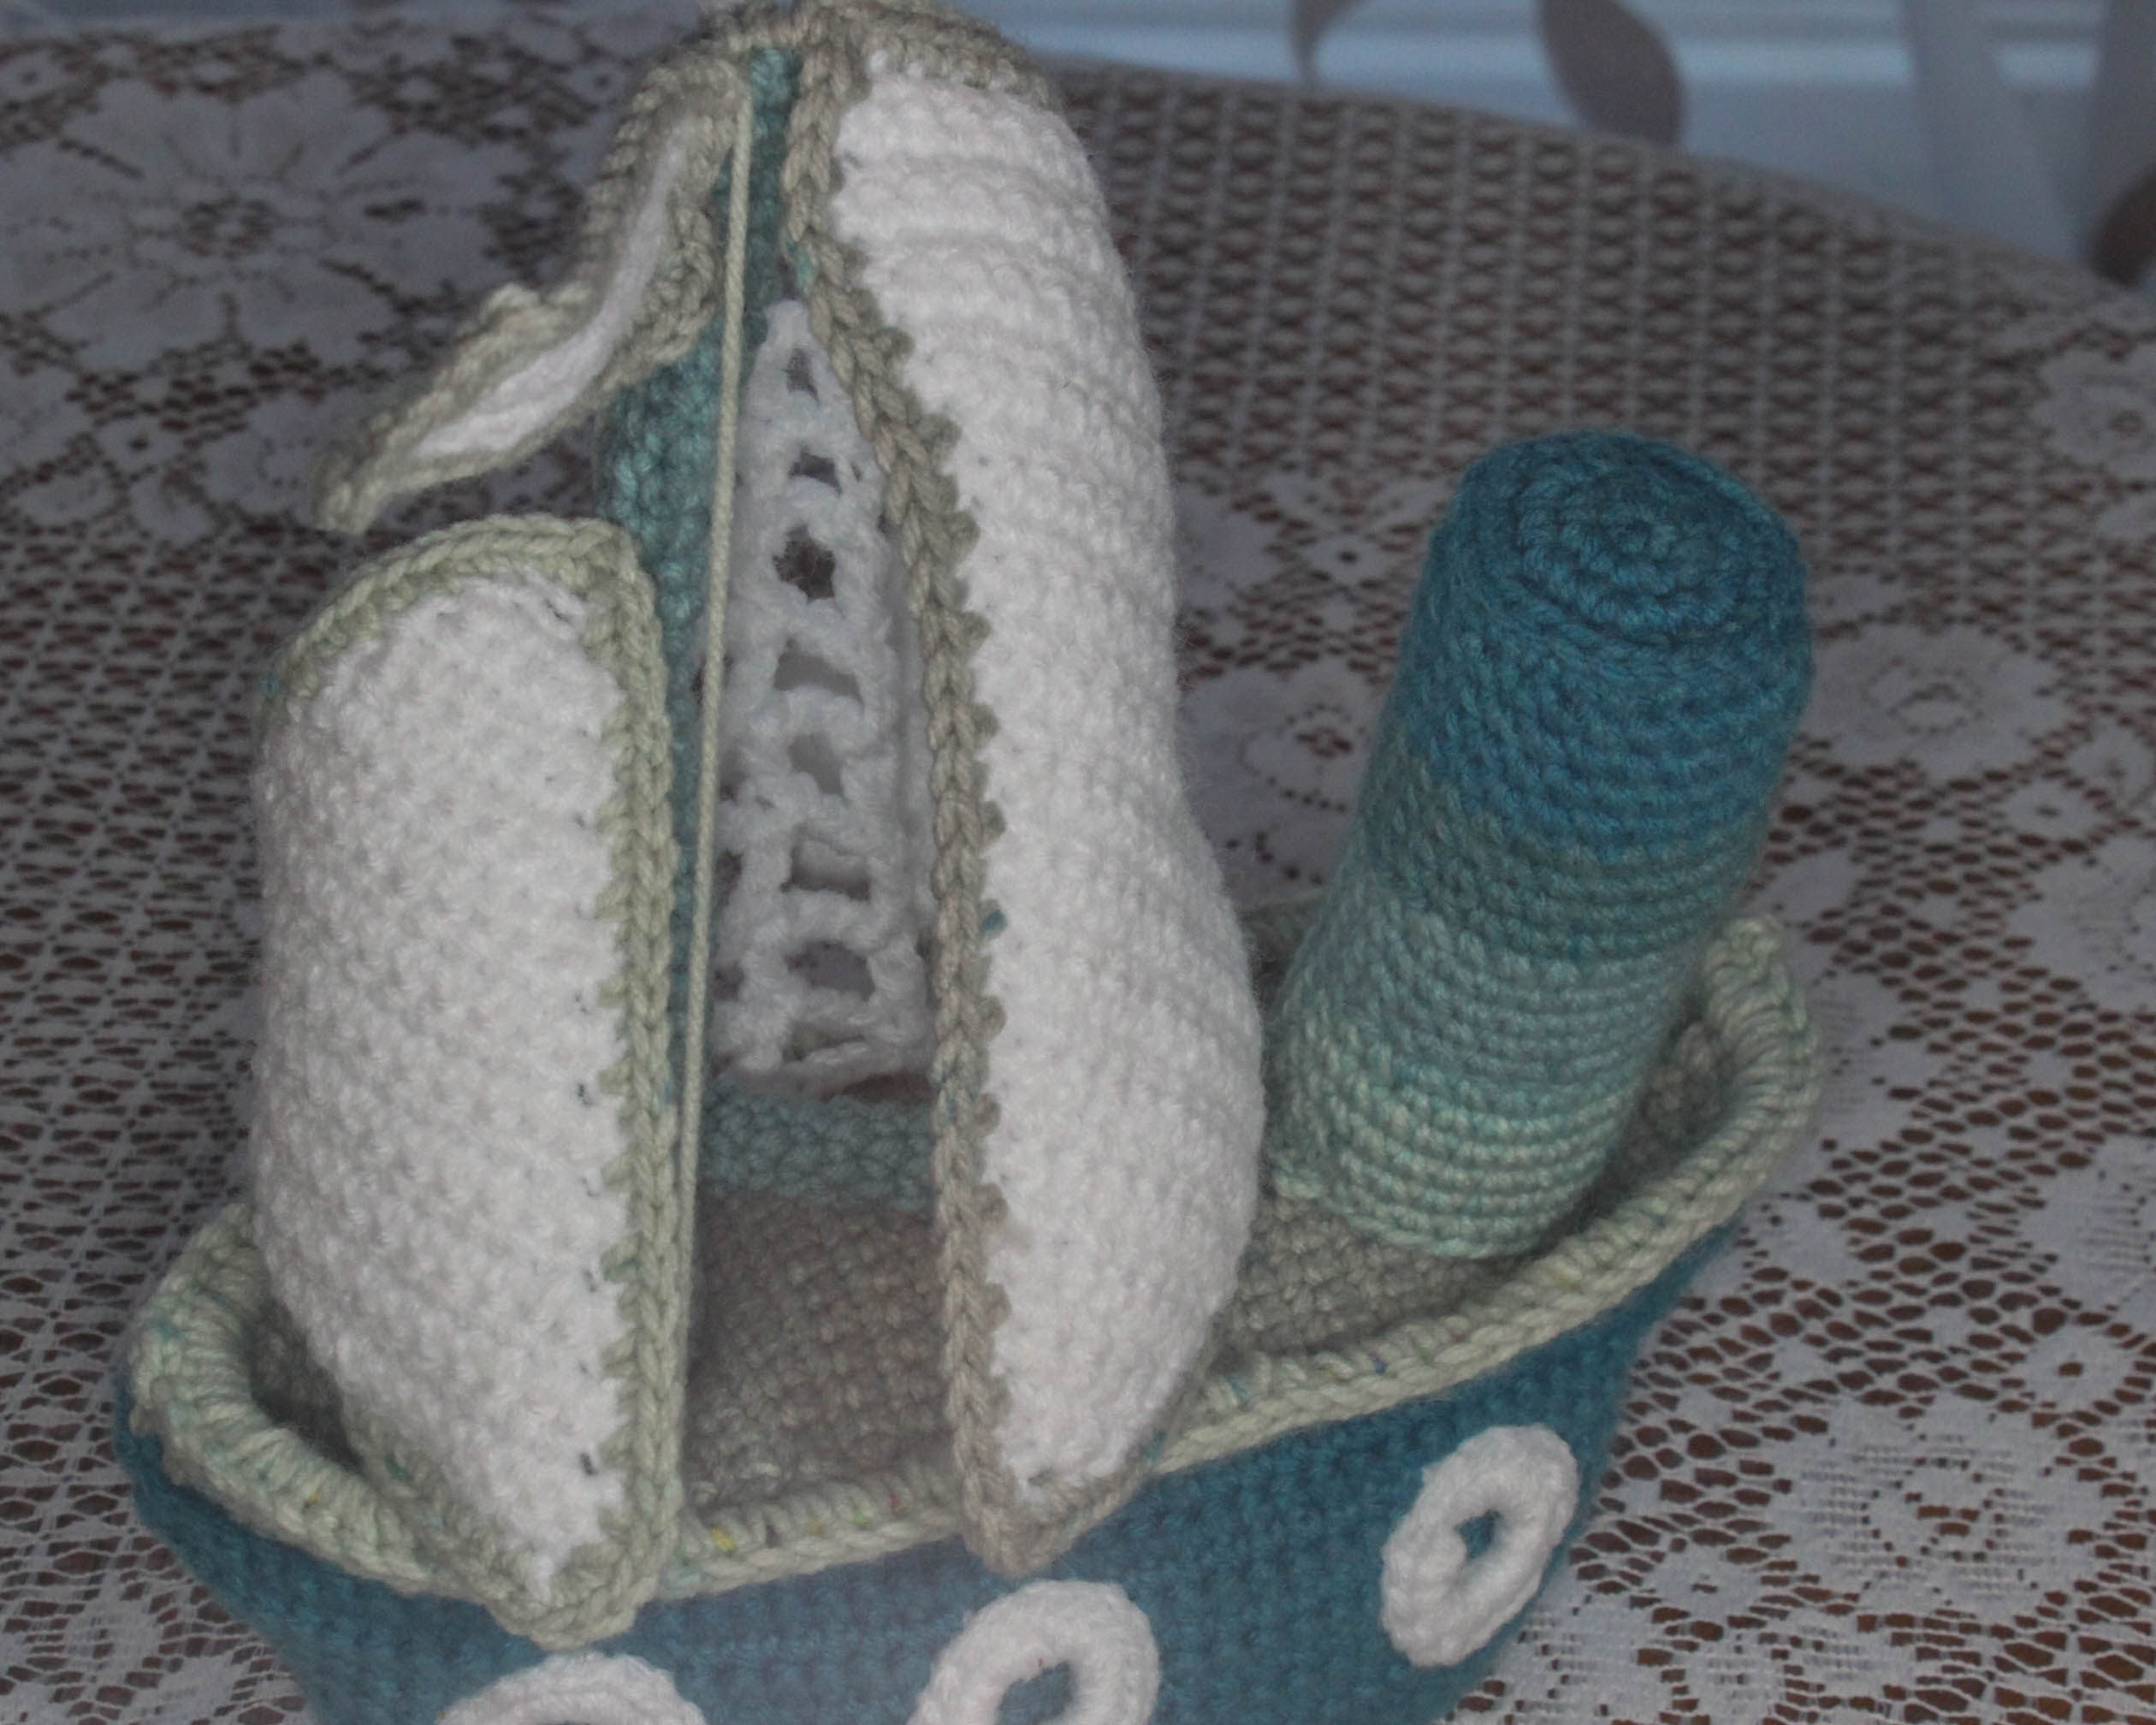
PIPE

Using color changes of choice

1) MR, sc 6, do not join (6)
2) 2 sc each st around (12)
3) *sc, inc* around (18)
4) *sc 2, inc* around (24)
5) sk, slst using invisible join, in 3rd loop sc in skipped st, sc around, do not join (24)
6-8) sc around (24)
9) sc around, sk last and make a clean slst
10) with next color, join yarn to stitch after the slst, sc around including into slst to make 24 sc (24)
11-13) sc around (24)
14) sc around, sk last and make a clean slst
15-25) repeat rows 10-14 twice more with two more colors, leave tail for sewing
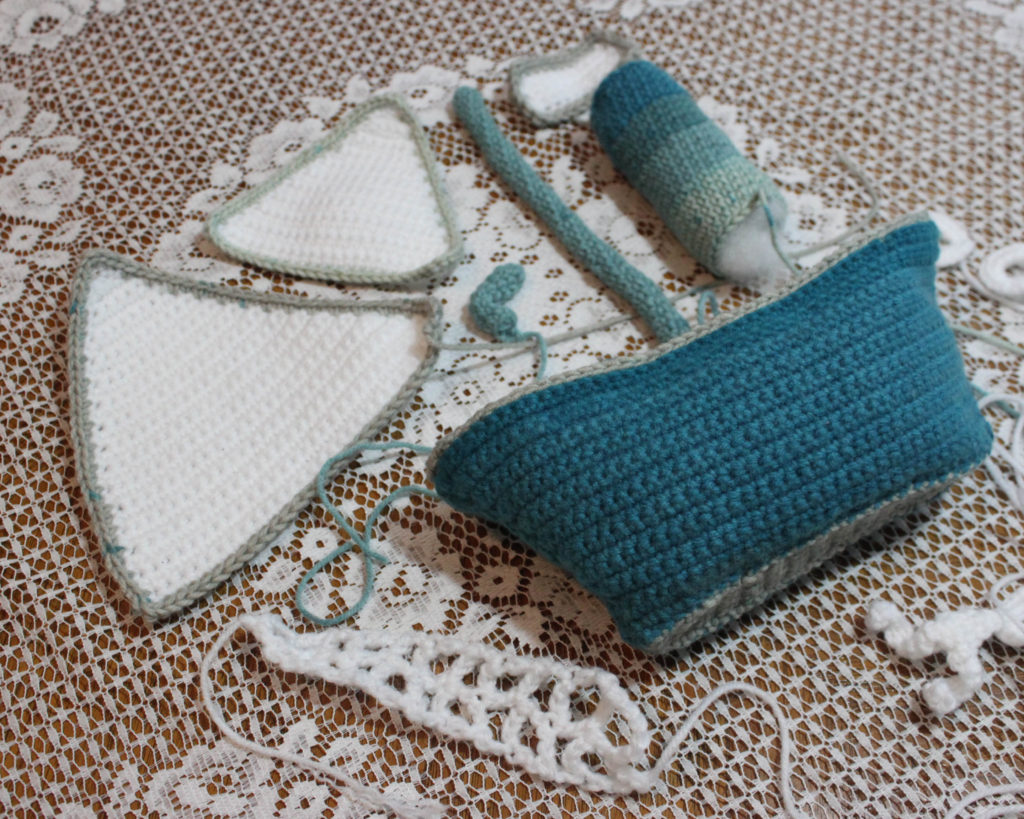
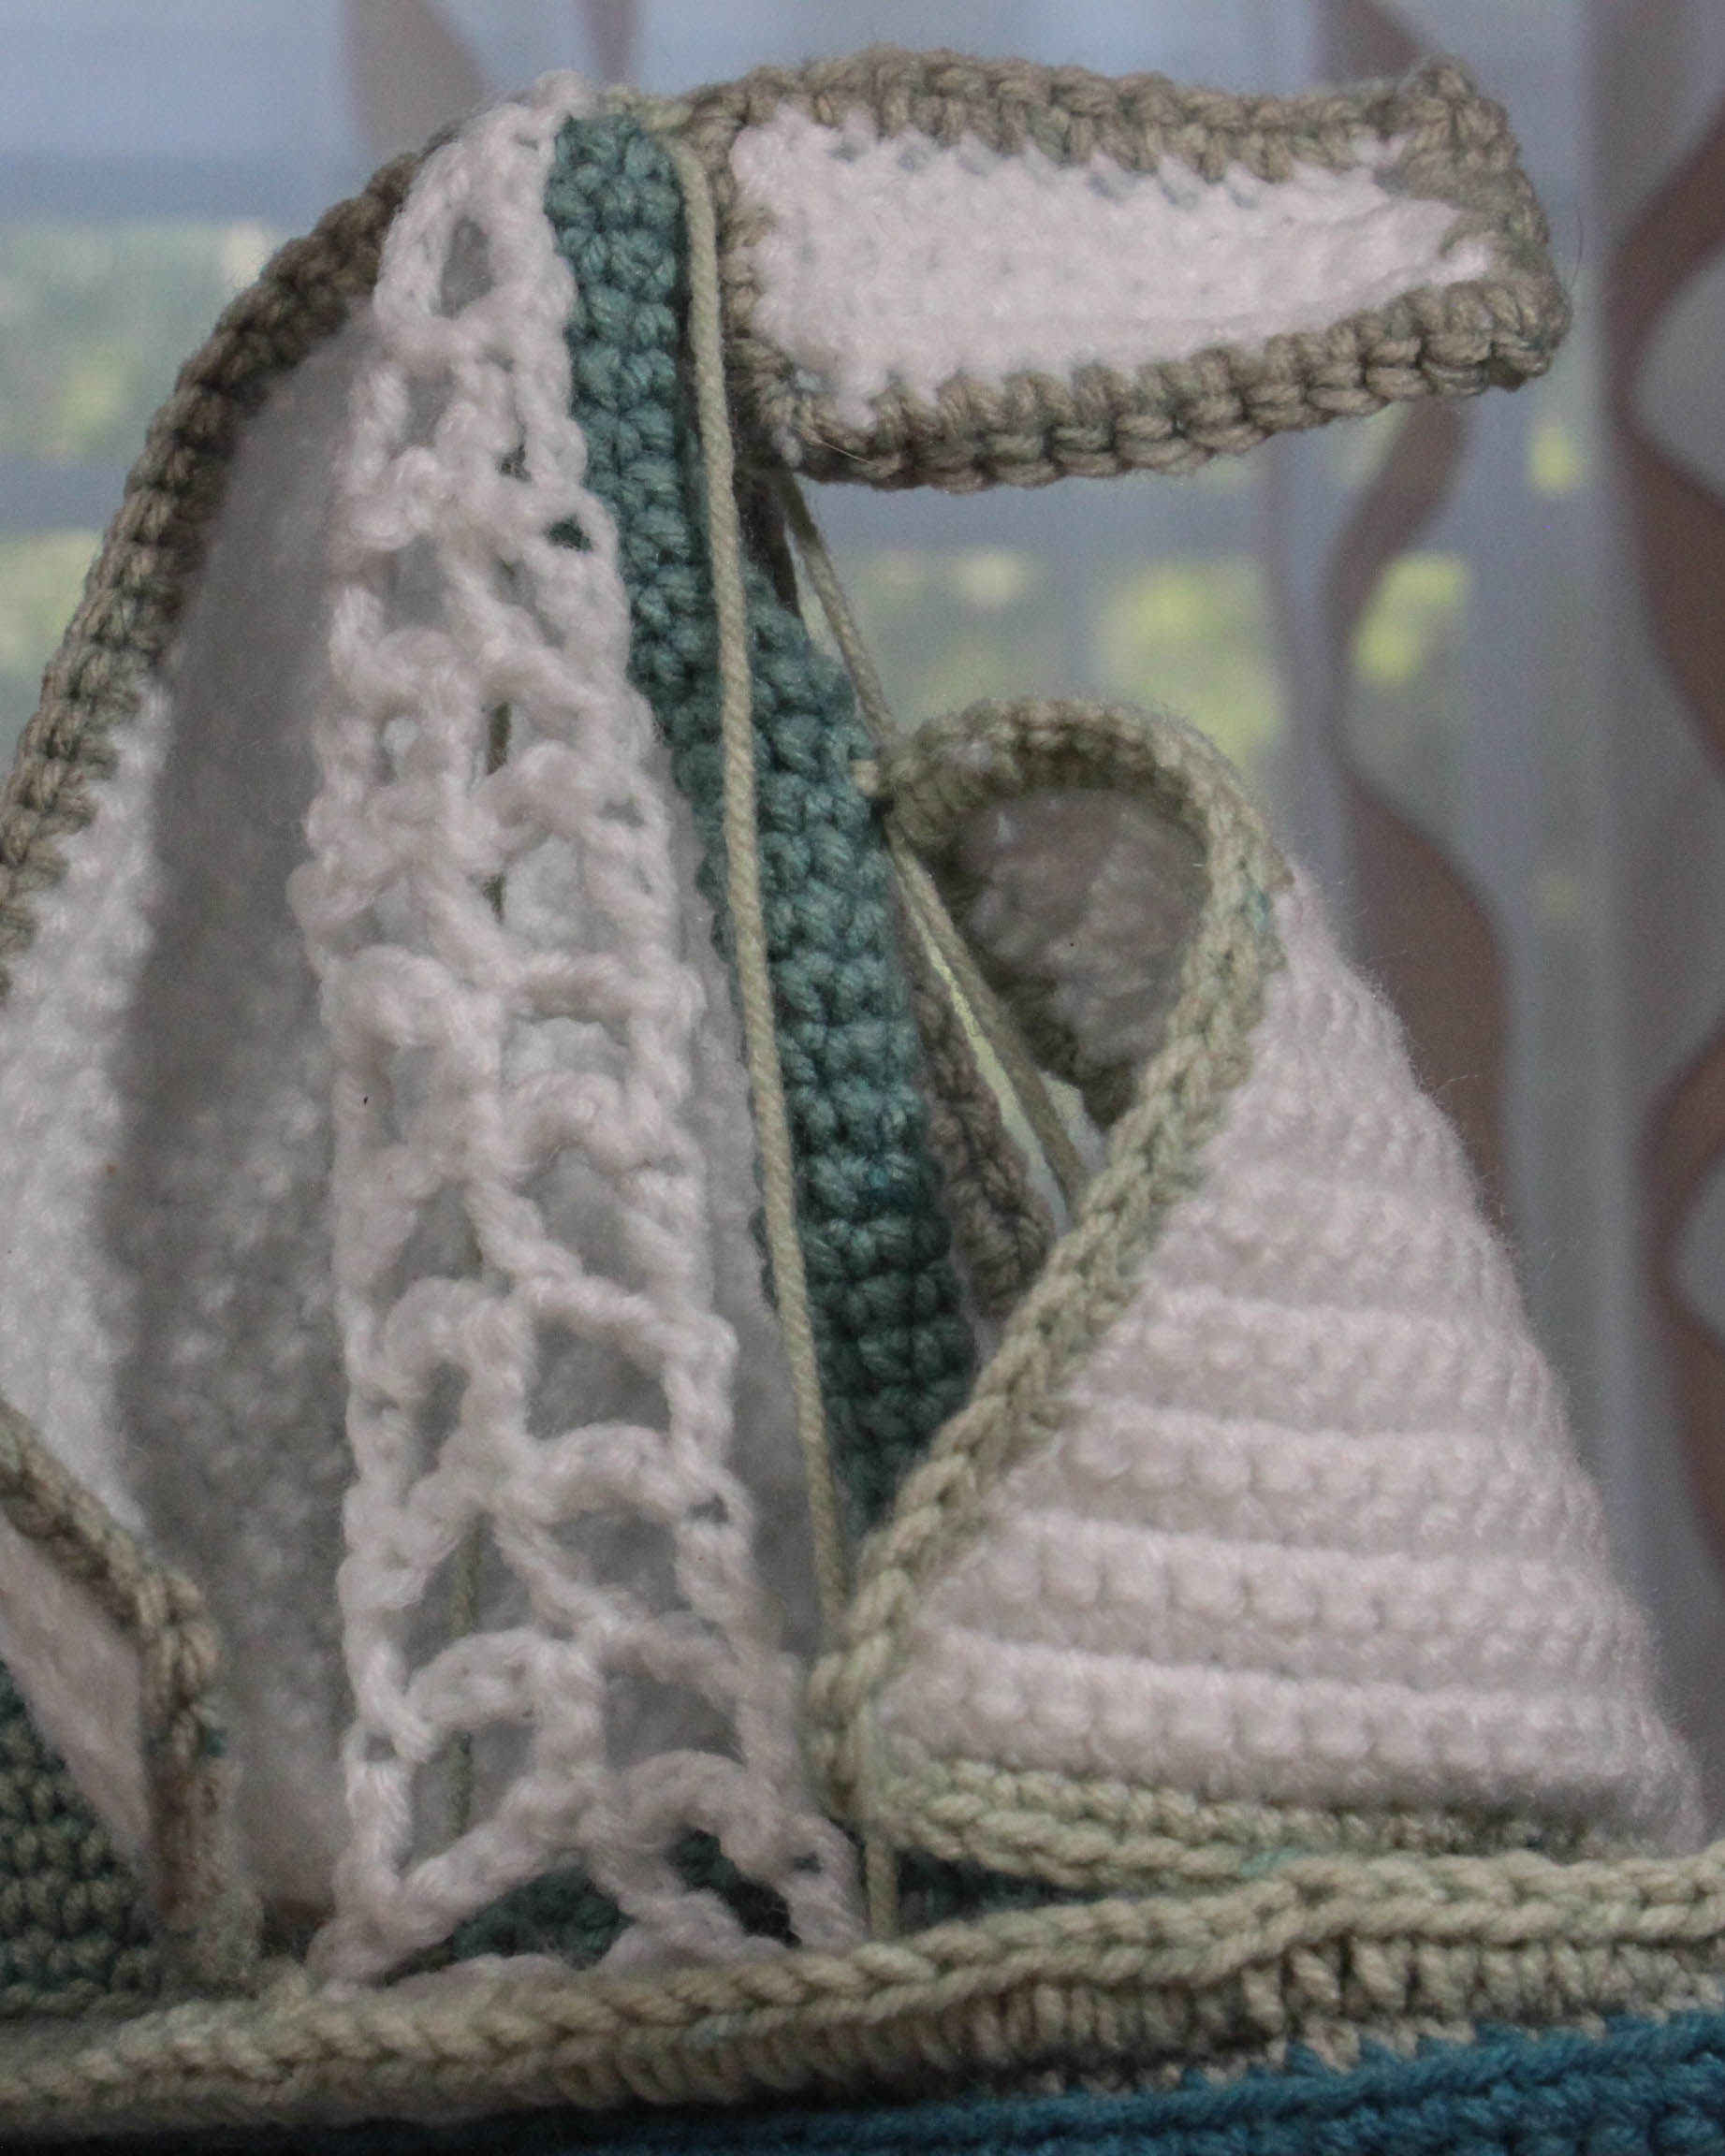
SAIL

Using white

1) ch 4, in 4th ch from hook, 2 sc, turn
2) ch 1, inc, sc, inc in ch, turn (5)
3) ch 1, sc across, turn (5)
4) ch 1, inc, sc 3, inc, turn (7)
5) ch 1, sc across, turn (7)
6) ch 1, inc, sc 5, inc, turn (9)
7) ch 1, sc across, turn (9)
8) ch 1, inc, sc 7, inc, turn (11)
9) ch 1, sc across, turn (11)
10) ch 1, inc, sc 9, inc, turn (13)
11) ch 1, sc across, turn (13)
12) ch 1, inc, sc 11, inc, turn (15)
13) ch 1, sc across, turn (15)
14) ch 1, inc, sc 13, inc, turn (17)
15) ch 1, sc across, turn (17)
16) ch 1, inc, sc 15, inc, turn (19)
17) ch 1, sc across, turn (19)
18) ch 1, inc, sc 17, inc, turn (21)
19) ch 1, sc across, turn (21)
20) ch 1, inc, sc 19, inc, turn (23)
21) ch 1, sc across, turn (23)
22) ch 1, inc, sc 21, inc, turn (25)
For small sail, change color and sc around piece. For large, continue to 23
23) ch 1, sc across, turn (25)
24) ch 1, inc, sc 23, inc, turn (27)
25) ch 1, sc across, turn (27)
26) ch 1, inc, sc 25, inc, turn (29)
27-30) sc 29, turn (29)
Change color and sc around piece.

FLAG

Using white

1) ch 11, sc 2nd ch from hook, sc 9, turn (10)
2-4) ch 1, sc 10, turn (10)
change color to gray and sc around piece
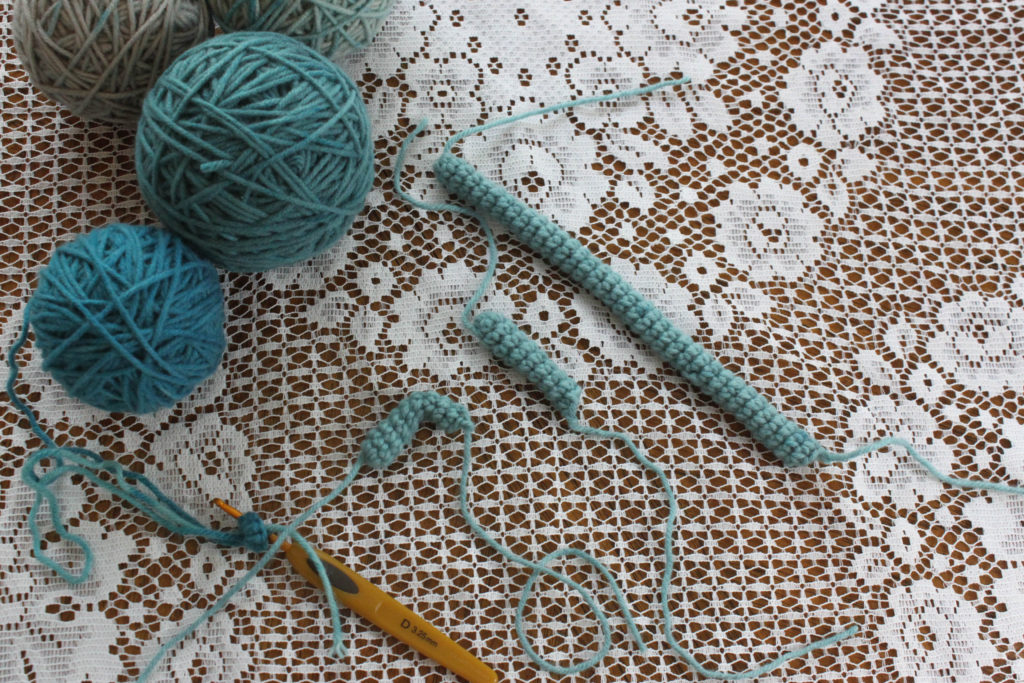
MASTS:

Using medium blue

LONG
1) MR, sc 6, do not join (6)
2) sc 6 (6)
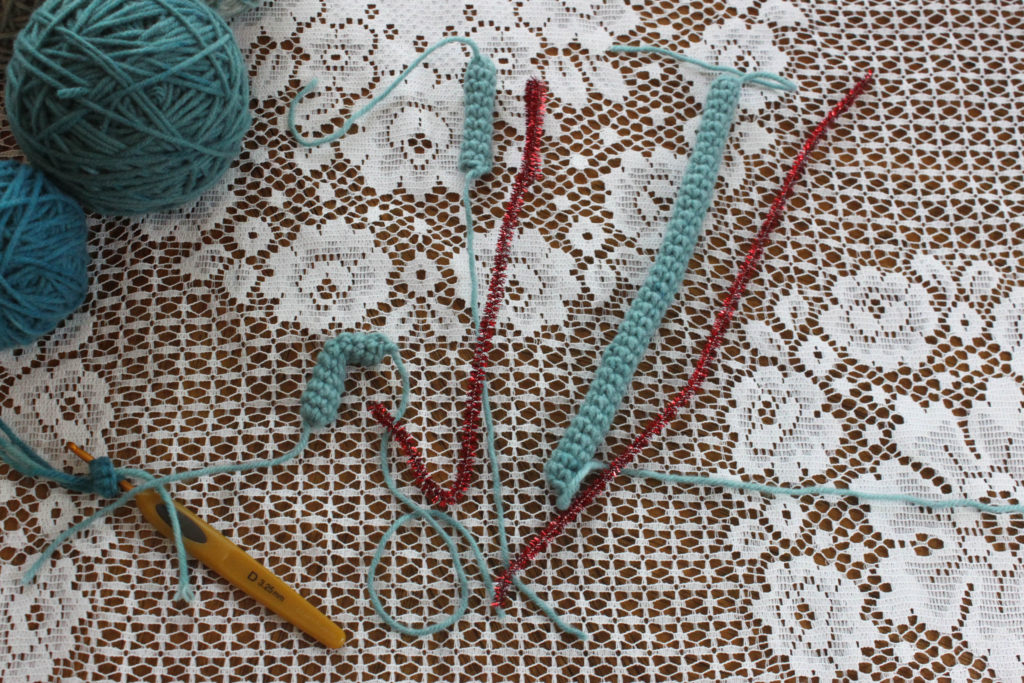
Repeat row 2 until piece measures just under 8”, leave tail for sewing, insert wire with taped ends for safety

SHORT
1) MR, sc 6, do not join (6)
2) sc 6 (6)
Repeat row 2 until piece measures 2”, leave tail for sewing, insert wire with taped ends for safety

BENT
1) MR, sc 6, do not join (6)
2) sc 6 (6)
Repeat row 2 until piece measures 2”. leave tail for sewing, insert wire with taped ends for safety; after inserting the wire, make a bend 3/4” in

LADDER

Using white

1) ch 7, dc in first ch made, turn
2) ch 5, sk, dc in ch, ch 1, sk, dc in ch, turn
3-4) ch 5, dc, ch 1, sk, dc in ch, turn
5-9) ch 6, dc, ch 2, sk 2, dc in ch, turn
10-11) ch 7, dc, ch 3, sk 3, dc in ch, turn
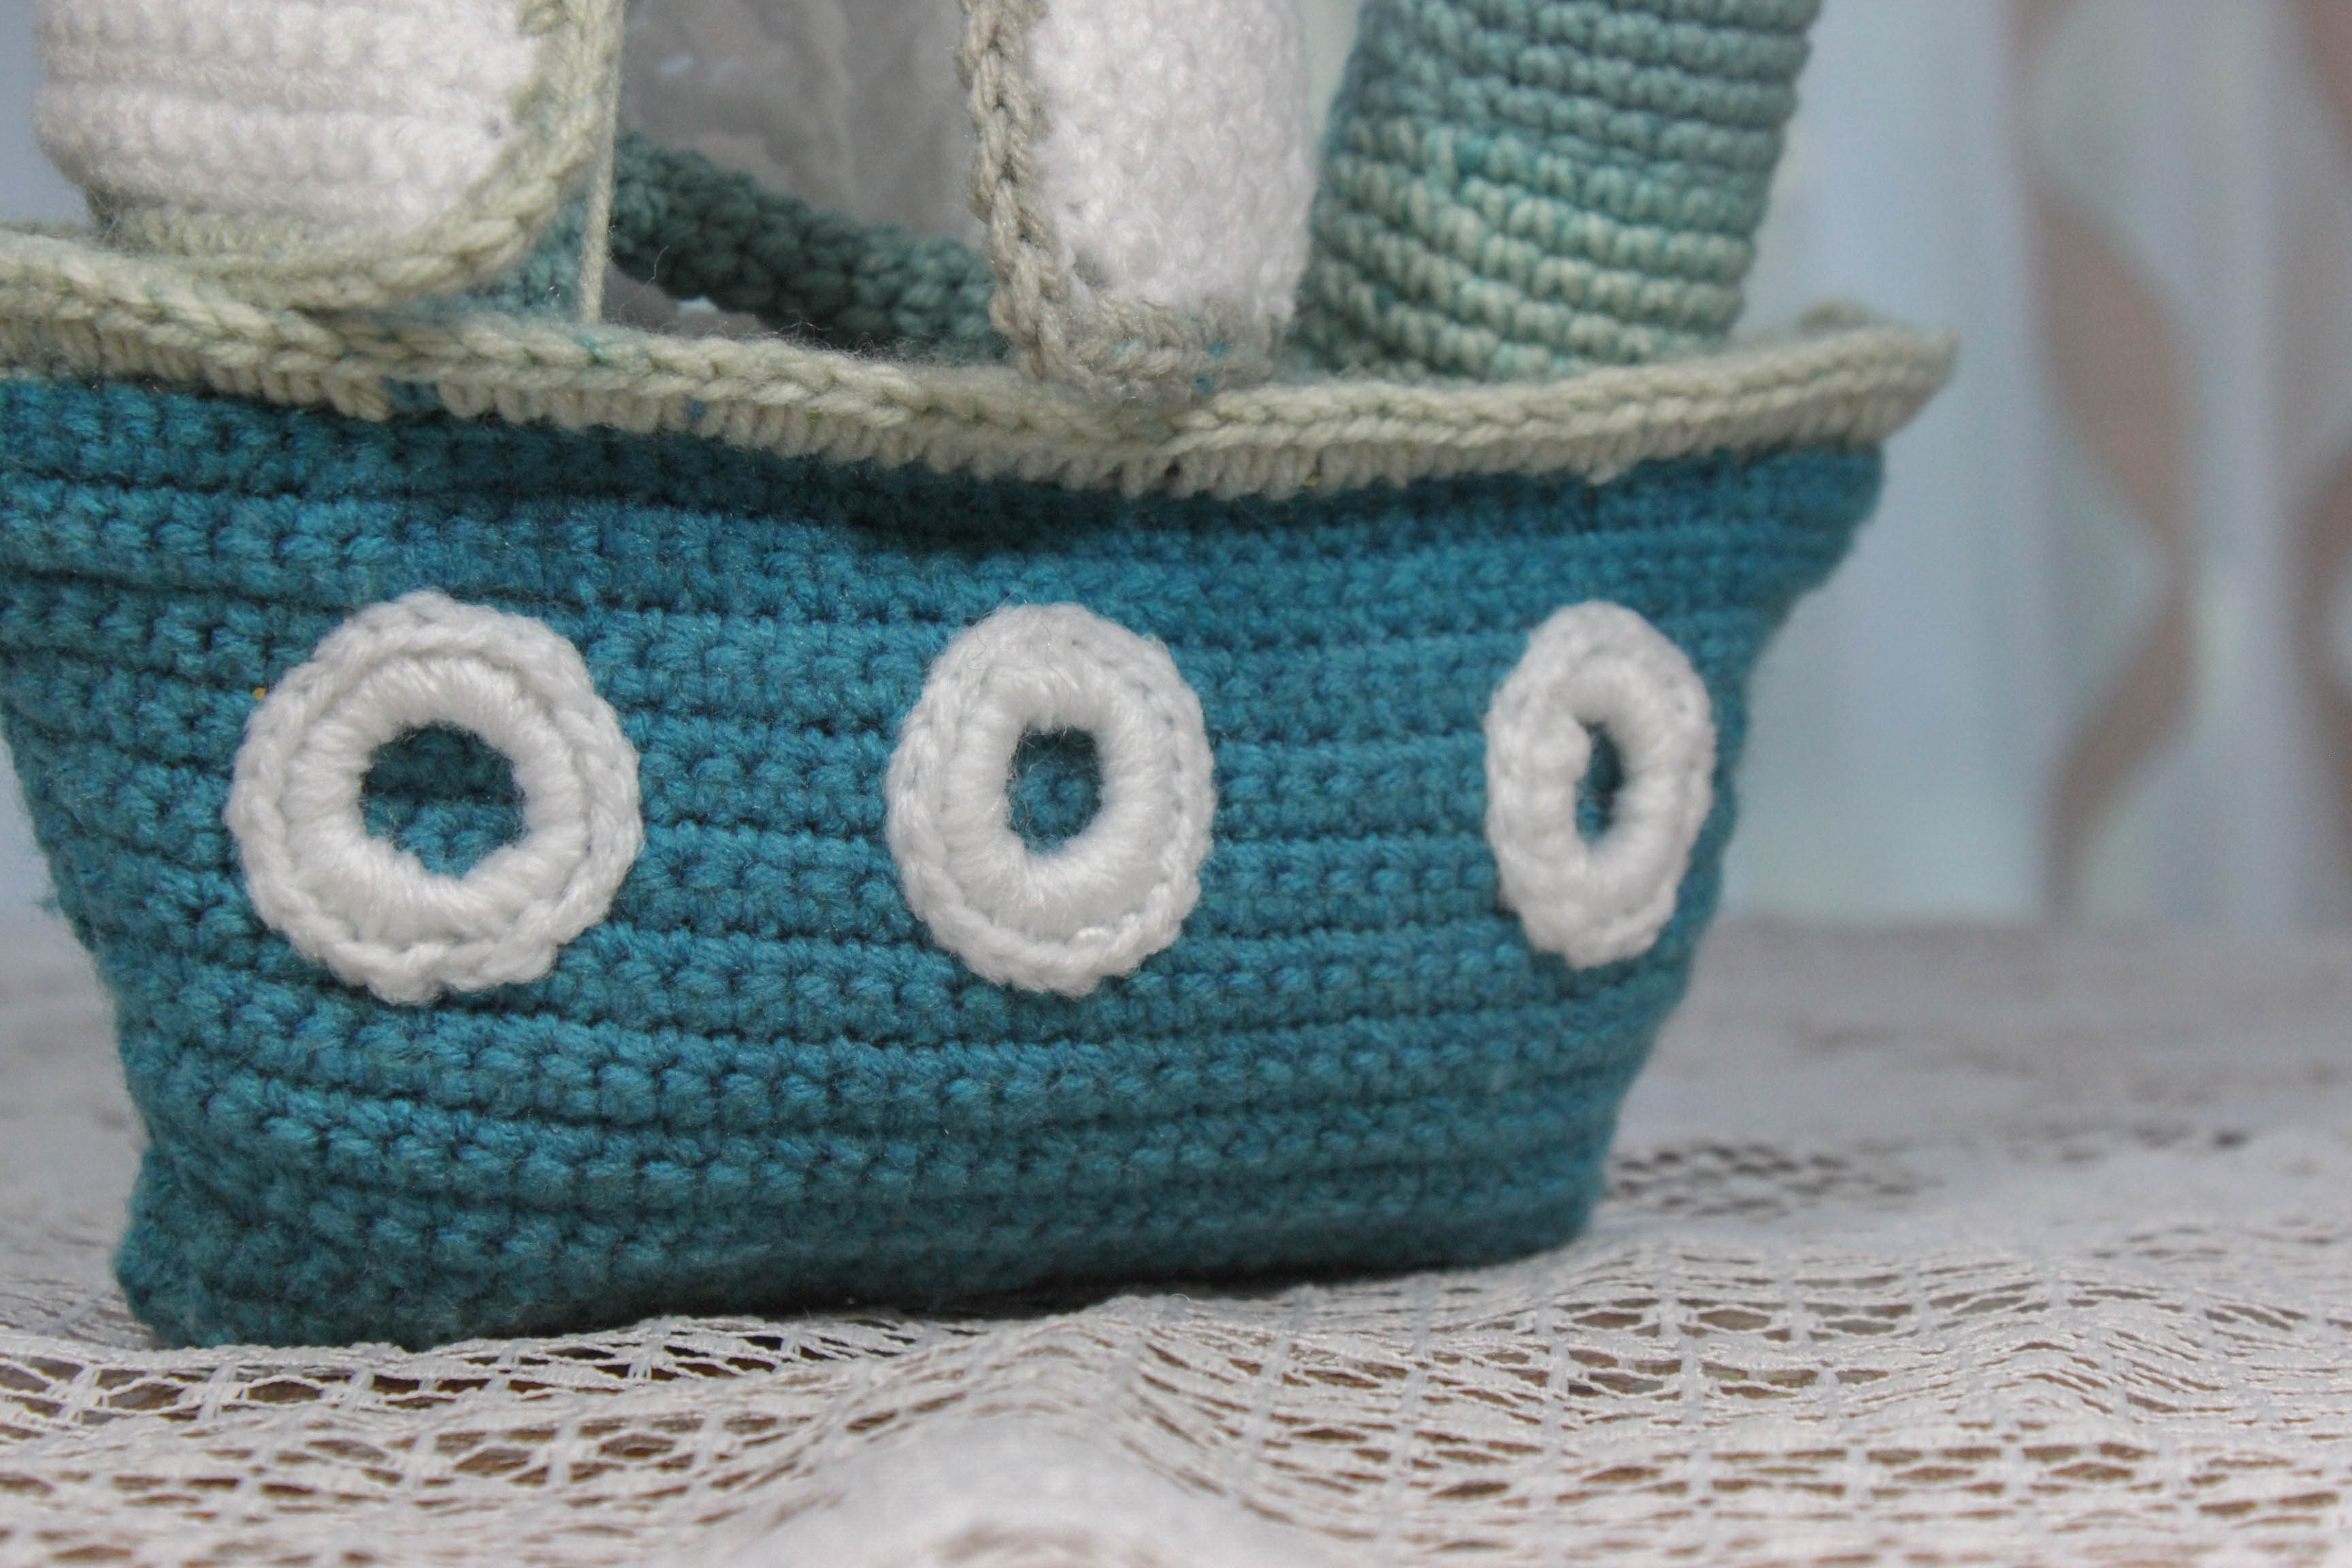
PORT HOLES (make 5)
1) ch 8, slst to first ch to make a ring
2) sc 20 inside ring, join, fasten off
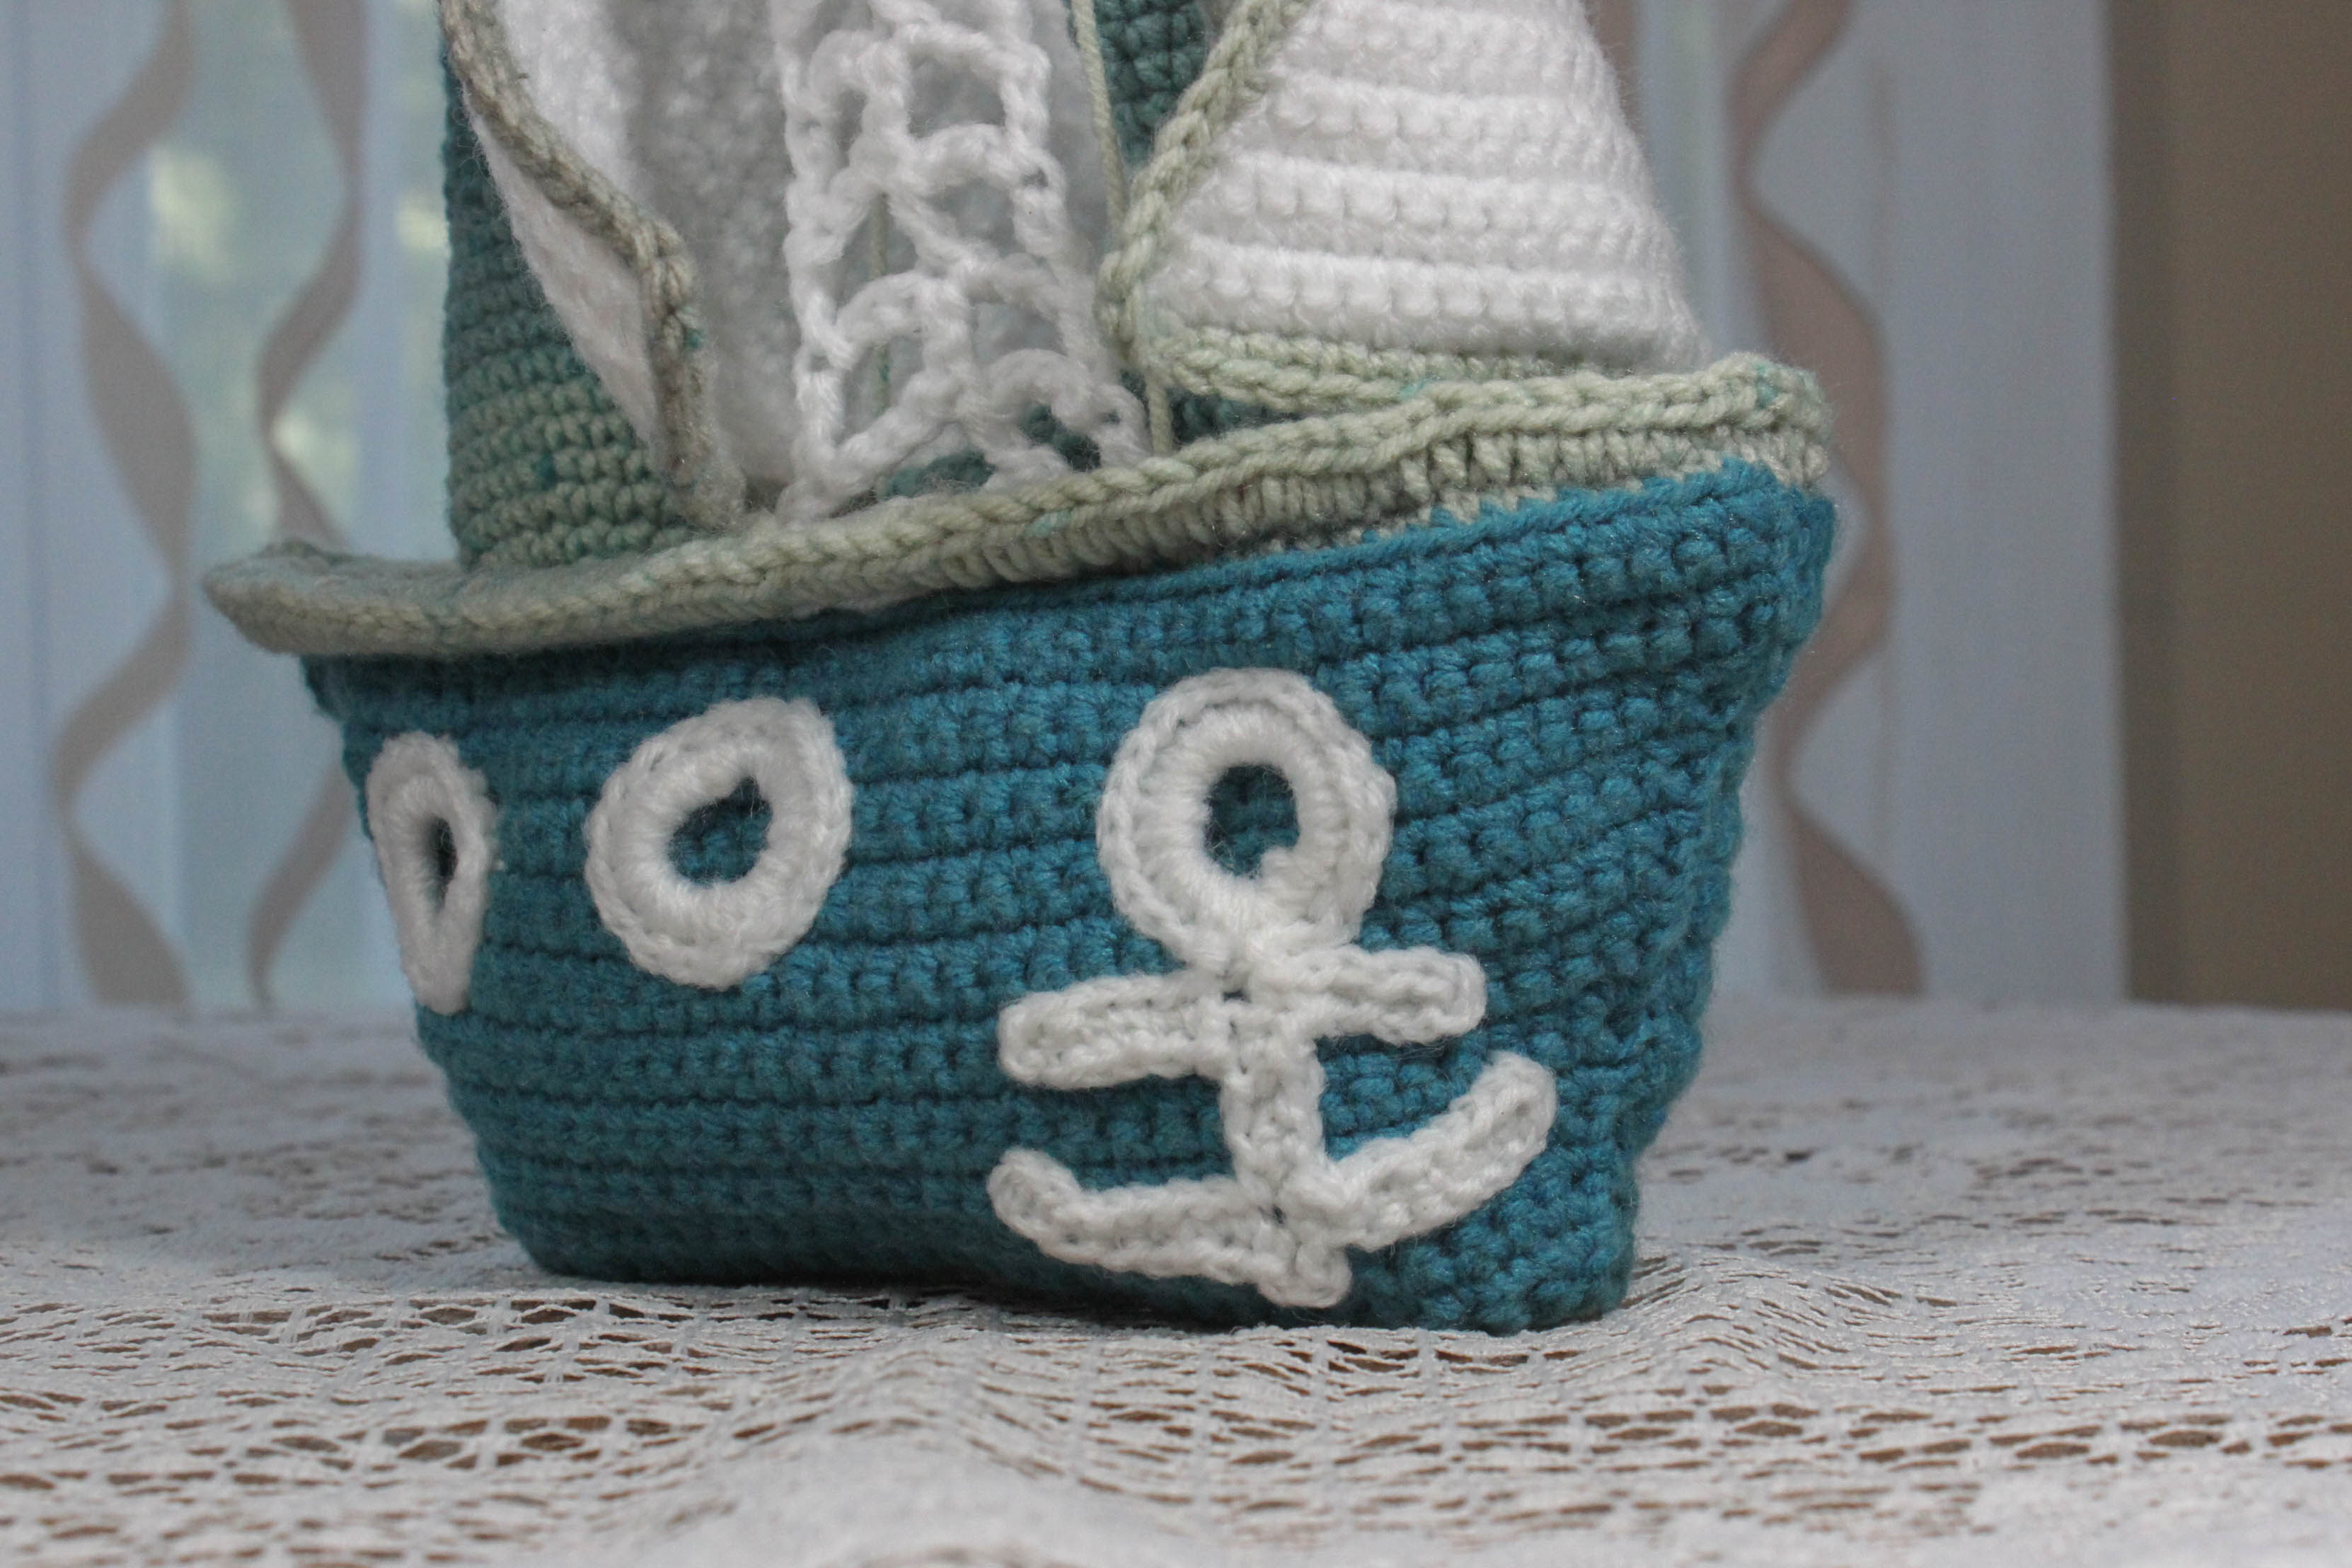
ANCHOR
1) 1) ch 8, slst to first ch to make a ring
2) sc 20 inside ring, do not join
continue to make vertical portion of anchor
3) ch 8, turn, sc 3rd ch from hook, sc 5 in 3rd loops of chains
4) ch 14, turn, sc 3rd ch from hook, sc 7 in 3rd loops of chains
5) ch 3, slst to bottom of last sc, ch 9, sc 3rd from hook, sc 7 in 3rd loops of chains
6) sc back up anchor along ch, sc 5 in 3rd loops of chains
7) ch 7, turn, sc 3rd ch from hook, sc 5 in 3rd loops of chains, sc in 1st ch from row 3, slst to row 2 ring

ASSEMBLY
1) Sew the bottom of each side to the bottom piece
2) sew the sides together
3) sc the deck to the top of the sides
4) sew the pipe on 3 rows into the end
5) sew on the long mast on row seven counting from opposite side of pipe
6) sew on the bent mast with short side on row 4 from the mast end and other side to long mast
7) sew short mast to opposite side of mast towards the pipe and 1/4” above the bent mast
8) sew the middle bottom of the small sail to the bent section of the bent mast; sew the top of sail to the long mast
9) sew middle bottom of the large sail to the empty end of the short straight mast; sew the top of sail to the long mast
10) sew on the flag
11) sew the ladder with the wide end on the deck and short end on the mast
12) sew yarn on in places that will hold the mast in place
13) sew on portholes and anchor
14) embellish as desired


The Cat is Out of the Bag

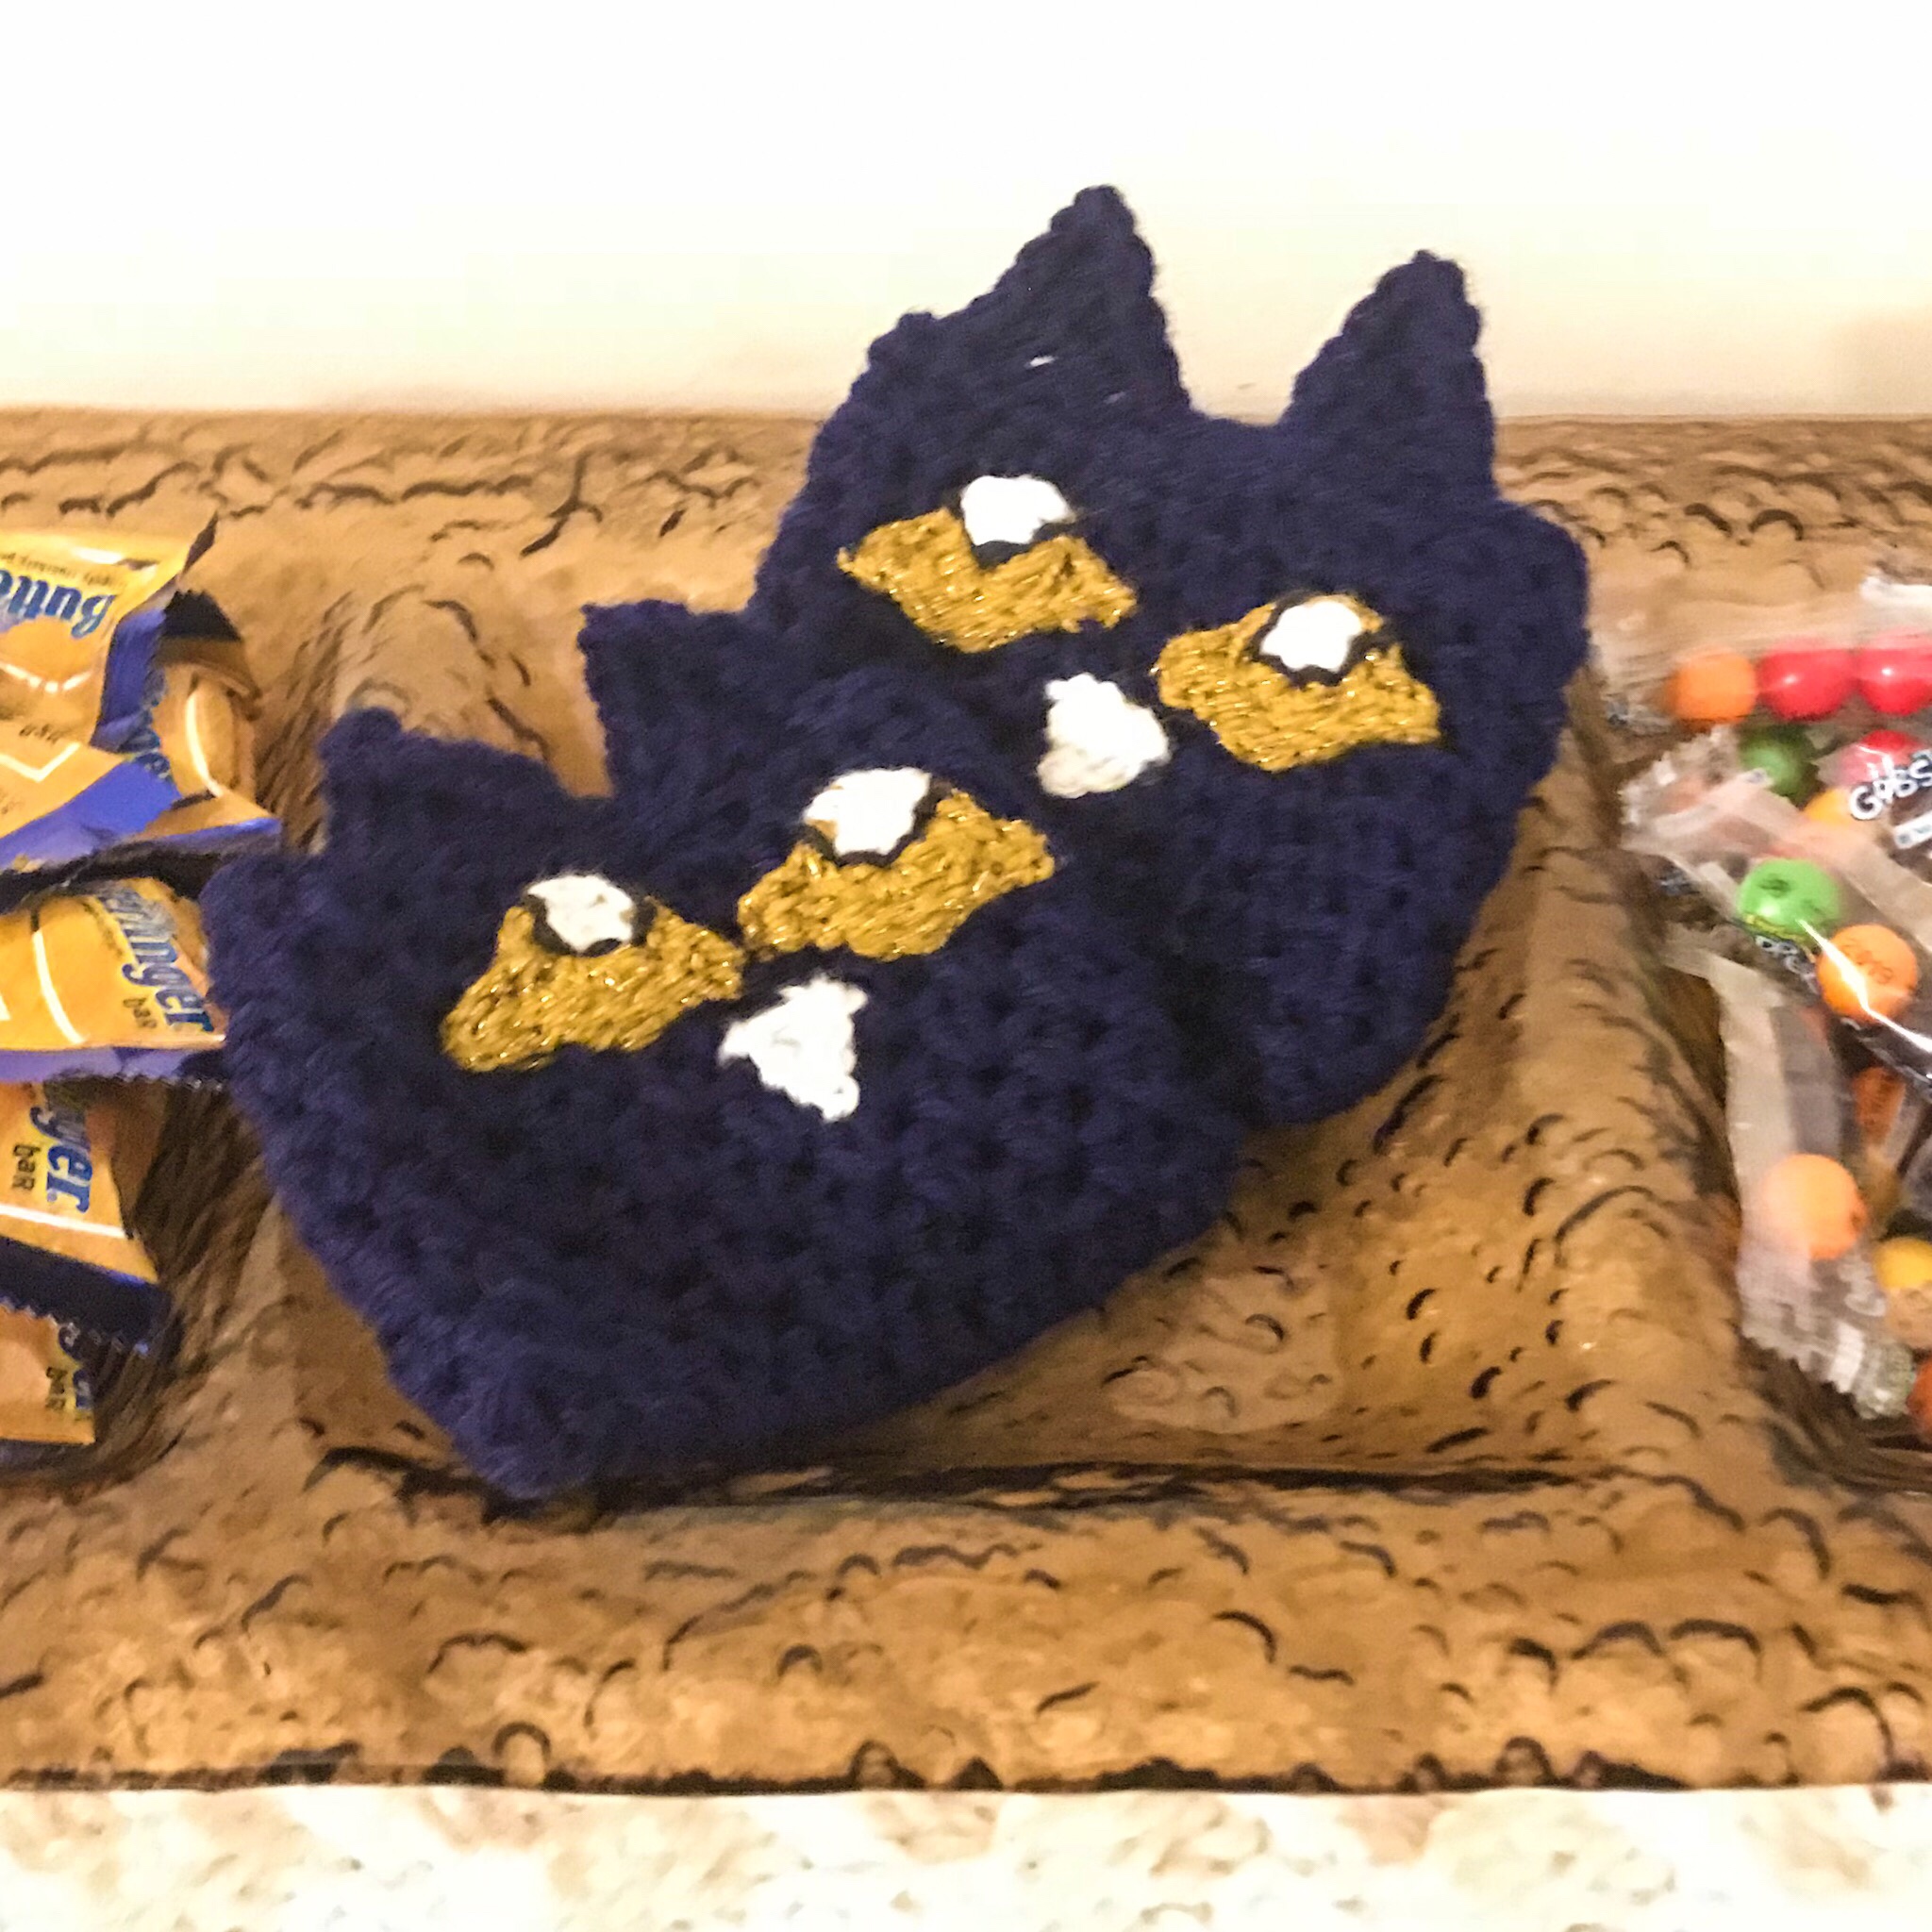
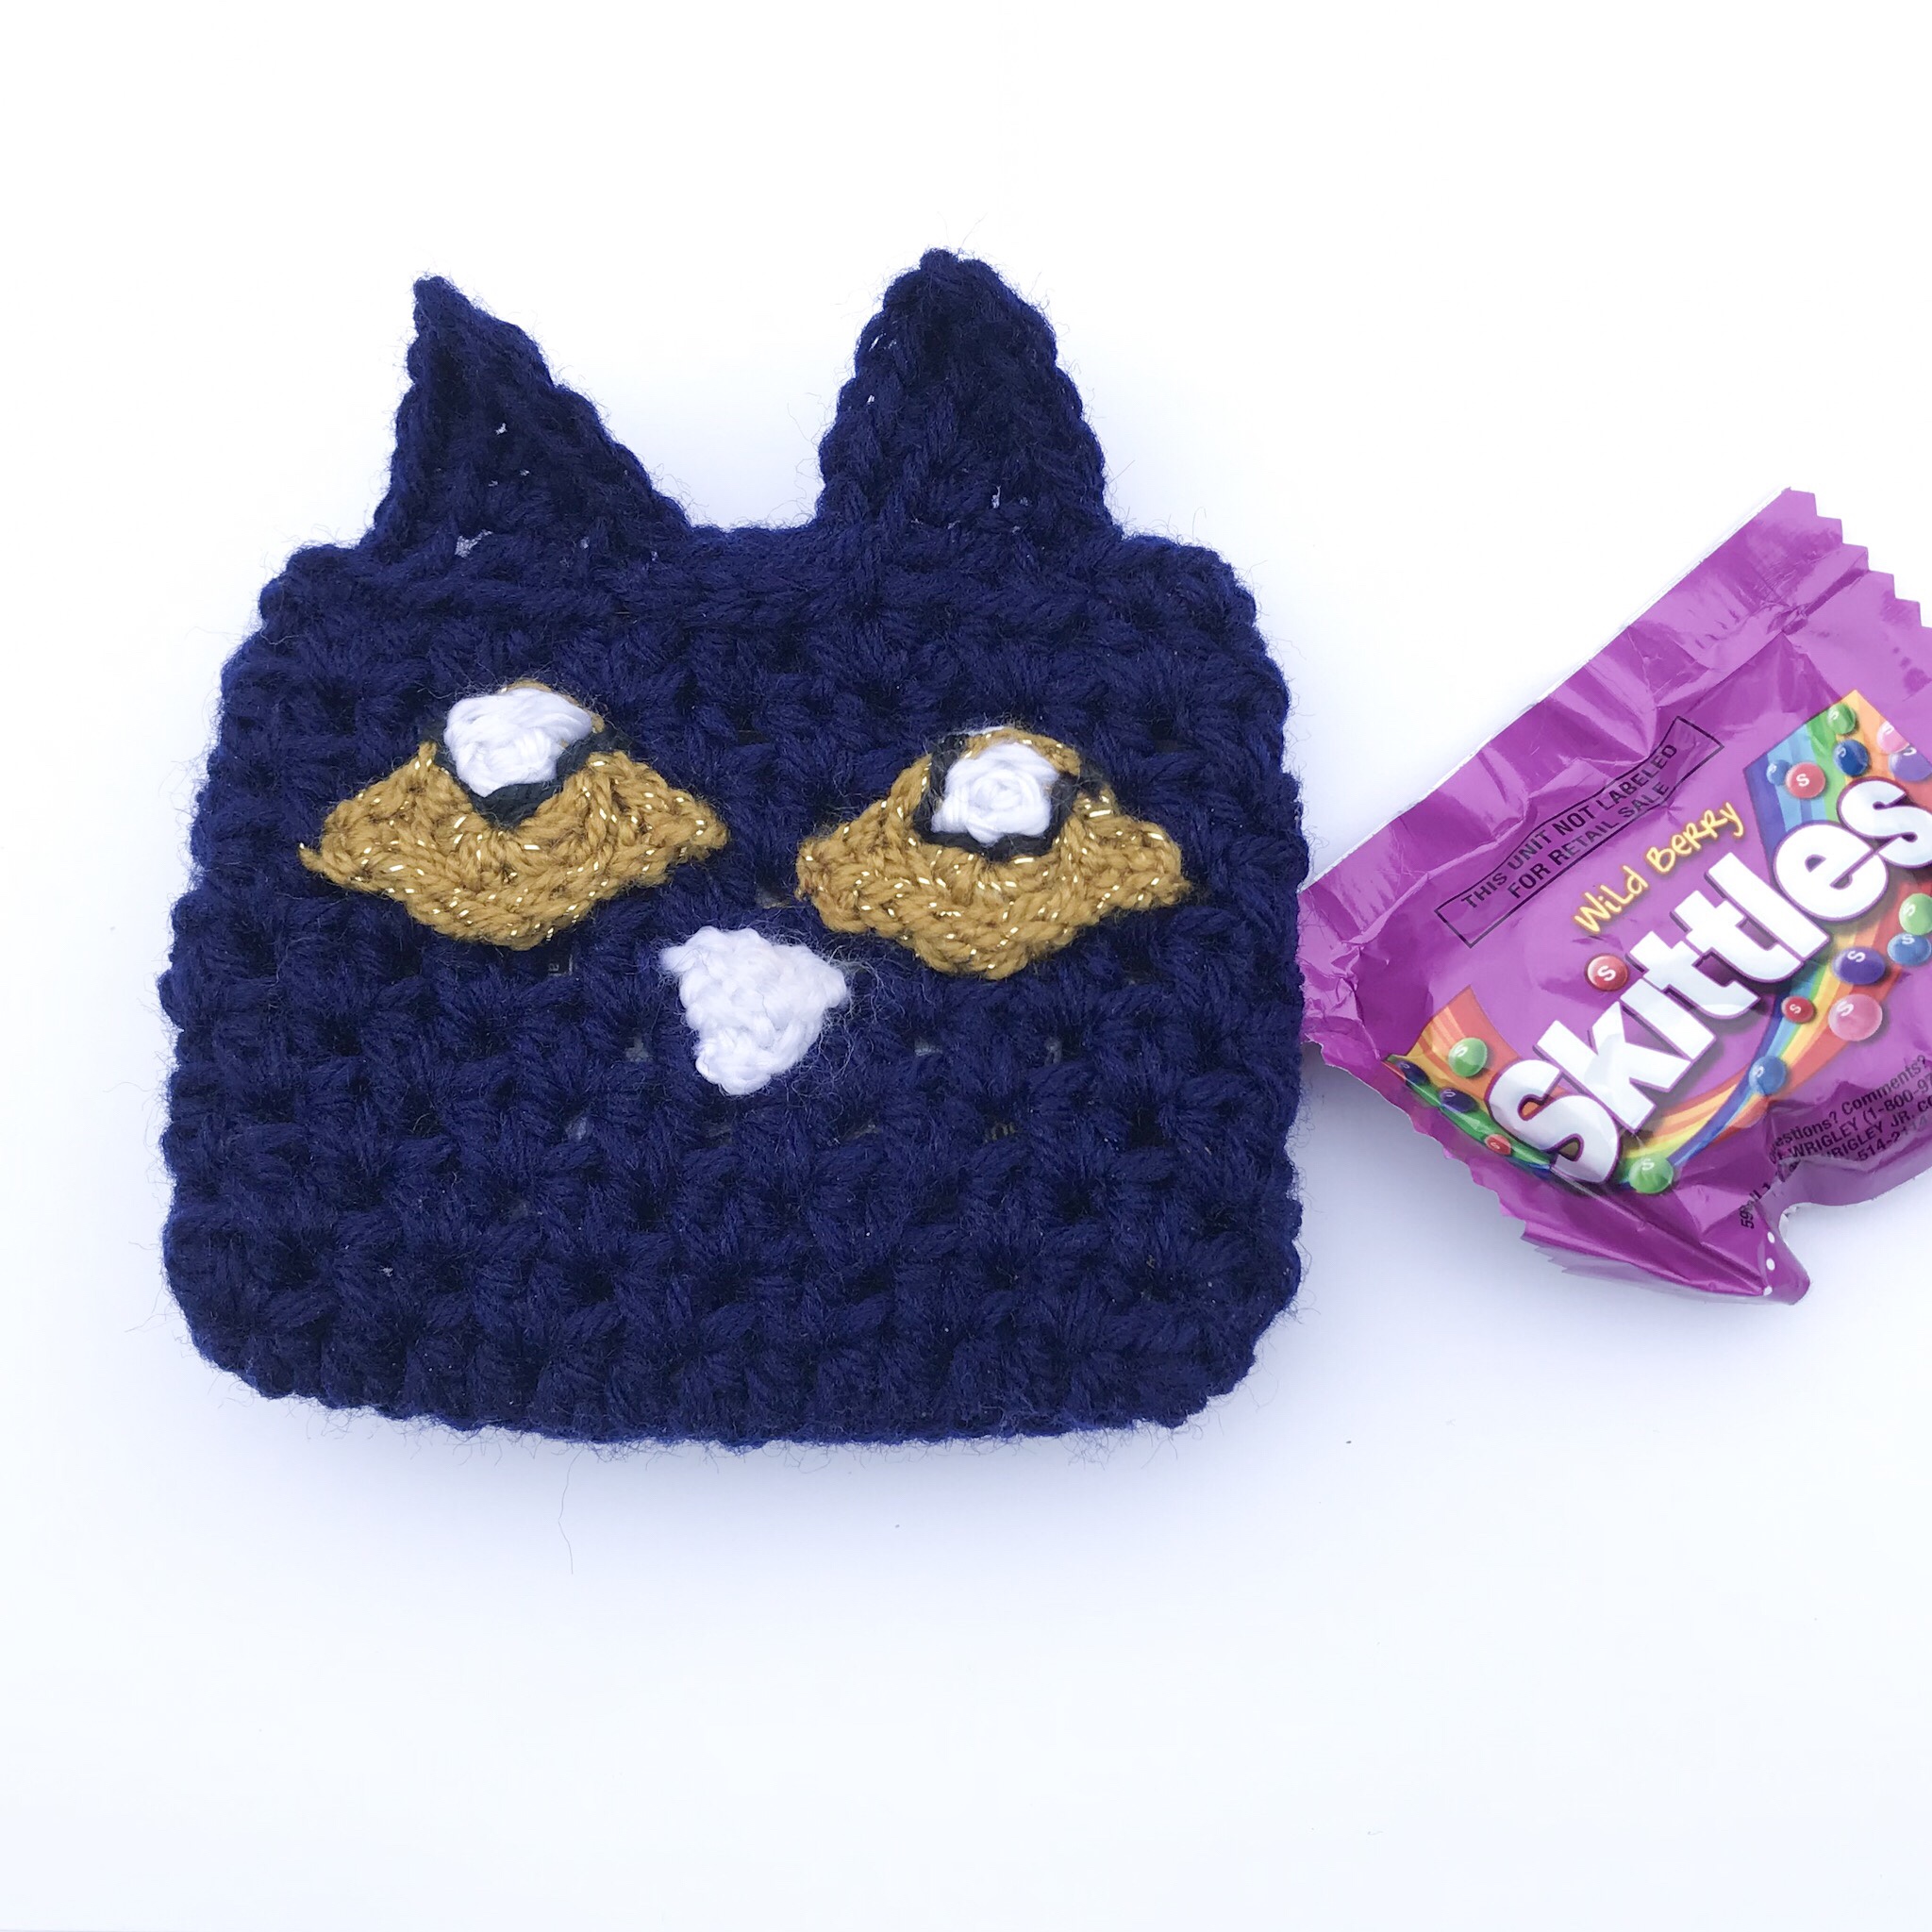
Well, the cat is the bag in this case. The most popular cat in my house, Pete the Cat, made it into our Valentine’s Day treat plans. This little bag perfectly holds a snack size candy or treat!

Pete the Cat Crochet Treat Bag

Skill Level: Easy

Materials: yarn needle, scissors, colorful 1/2″ buttons

Yarn: I Love This Yarn Worsted Solid in Navy Blue, Vanna’s Glamour Yarn in Gold, and Caron Simply Soft Yarn in Black and White

Substitutions: any worsted, aran, or dk weight yarn (don’t double up on eyes if using worsted)

Gauge: doesn’t matter for this pattern.

Hook Size: G & I

Abbreviations Used:

st or sts – stitch or stitches

ch – chain stitch

sc – single crochet

hdc – half double crochet

sl st – slip stitch

Special Stitches: surface stitch – watch a video here

With hook I

1) Ch 22, dc 4th ch from hook (counts as a dc), dc in each ch to end. Continue working along other side of chain, dc across, slst (40)

2) Ch 3 (counts as dc here and after), dc between dc’s from previous row behind current dc, *sk 2 dc, 2 dc in sp between dc’s* around, slst (40)

3-10) Repeat row 2

11) ch 1, sc in same st, sc 9, make ears.

Ears

1) *ch 5, slst 2nd ch from hook, sc 3rd ch, hdc 4th ch, dc last ch, sk 3 st of bag*, slst 3, repeat *to*, slst 2, turn

2) ch 1, slst across and behind row 1 of ears in 3rd stitches, then side of dc from last row + blo of row 11 of bag (securing the ears to the bag as you work). This row will also help hold the ears upright. Stop at one st past the first ear, turn (appx 11 slst)

3) ch 1, *sc 4, ch 2, sc in loop of ch1 from previous row, sc blo 4 st down ear*, slst 4 center of ear, repeat *to*, slst, sc 10, sk, ch 3 (button loop), slst, fo

Eyes

Hook G

1) with double wrapped gold, MR, hdc 8, join

2) ch 3, *slst 2nd from hook, sc 3rd from hook, sk*, slst 5, repeat *to*, slst 3 pulling up white with last slst

3) slst 5 into center of MR going around tail in the back of each slst to hold in a nice surface st style circle

4) backstitch around the bottom of the white portion of the eye. Sew on.

Nose

Hook G

Ch 3, slst 2nd ch from hook, hdc next ch, ch 1, sew on

Copyright Notice:

You are welcome to sell your finished items from this pattern. However, please do not copy, share, or redistribute the pattern itself in any manner. Please provide a link to my website if you choose to sell your finished items online, even if adjustments or embellishments have been made to my pattern. If you change the name to the item when you sell, mention the pattern name and link so that other people can find it).

You may link in this way: Pete the Cat Treat Bag Crochet Pattern by Hannah at brightsideis.com.

If you have any questions or need help with this pattern, please contact me at [email protected] as I am happy to help you. – Hannah

Star Hearts

I enjoy Valentine’s Day with our family because it falls between two birthdays and we’ve come to a general agreement that no big deal will be made from it. Still, we participate in the school exchanges and sugar coma’s. My husband finds a nice card that has become something to look forward to.

I’m playing around with making little crochet hearts. I wanted them for Valentine’s Day card embellishments, so they each only take a few minutes to crochet. I also made Valentine goodie bags this year and I’ll probably sew a few of the babies on them. Have fun with this quick and simple project!


Star Heart Crochet Pattern:

Skill Level: Easy


Materials: yarn needle, scissors

Yarn: DK yarn (I used scrap yarn so I’m unaware of the exact brand and color. It looks like a wool)

Substitutions: any aran or dk weight  yarn

Gauge: doesn’t matter for this pattern. See measurement instructions.

Hook Size: G

Abbreviations Used: st or sts – stitch or stitches
ch – chain stitch
sc – single crochet
hdc – half double crochet
sl st – slip stitch
inv join – invisible join

Special Stitches: Star Stitch – watch a video here

1) MR, ch 6, star stitch from 2nd ch from hook & next 4 ch, star st, star st pulling 3rd loop from around ring and tail, 4th loop between ring and tail, and 5th loop from around ring and tail (finish as usual and call this the mod ring star hereafter), mod ring star, ch 2, star stitch using 2nd ch from hook + ch from last star st + finishing as usual, mod ring star 3, ch 2, sc in 2nd ch from hook, sc in finishing ch of last star st, mod star 2, slst to first star

2) flo hdc 4, hdc, sc, slst down center, sc, flo hdc 4, hdc, sc 9, ch, sc 6, join, with a needle, sk the next st and sew an invisible join to the next to make the edge look even.

Copyright Notice:

You are welcome to sell your finished items from this pattern. However, please do not copy, share, or redistribute the pattern itself in any manner. Please provide a link to my website if you choose to sell your finished items online, even if adjustments or embellishments have been made to my pattern. If you change the name to the item when you sell, mention the pattern name and link so that other people can find it). 

You may link in this way: Star Heart Crochet Pattern by Hannah at brightsideis.com.

If you have any questions or need help with this pattern, please contact me at [email protected] as I am happy to help you. Thank you for supporting my family by purchasing a pattern. – Hannah


The Gripper Hugger

The Gripper Coffee Cozy Crochet Pattern

Skill Level: Easy

Materials: Measuring tape, yarn needle, scissors, the usual

Yarn: ¼ skein of any color choice

Substitutions: any worsted weight or 4 ply yarn

Gauge: doesn’t matter for this project – check that the first row fits around desired cup and adjust accordingly

Hook Size: J

Size:

Standard. Pictured cups are

  1. Ello Ogden Ceramic Travel Mug without the silicone boot
  2. Standard and good ole fashioned coffee mug

Abbreviations Used:

st or sts – stitch or stitches

ch – chain stitch

fsc – foundation single crochet

seed – seed stitch

sc – single crochet

Special Stitches:

Seed Stich: *insert hook, yarn over, pull through stitch, yarn over* repeat until there are 6 loops on hook and pull through all 6 loops

Pattern:

The Gripper coffee hugger Hook J

1) fsc 30, join to beginning fsc

2) ch 1, *sc 2, seed st* (hereafter “seed pattern”), repeat around, join

3) ch 1, sc around (hereafter “sc pattern”), join

4) ch 1, seed pattern to the end of round leaving last sc unworked, turn

5) ch 1, sc pattern to end of round, turn

6) ch 1, seed pattern to the end of round , turn

7-10) repeat 5-6 twice ending with a ch 1 at the end of row 10

11) repeat row 3 skipping the ch from the row before (going back to rounds instead of turning)

12-13) repeat rows 2-3. Fasten off.

Copyright NoticeYou are welcome to sell your finished items from this pattern. However, please do not copy, share, or redistribute the pattern itself in any manner. Please provide a link to my website if you choose to sell your finished items online, even if adjustments or embellishments have been made to my pattern. If you change the name to the item when you sell, mention the pattern name and link so that other people can find it). You may link in this way: The Gripper Coffee Cozy Crochet Pattern by Hannah at brightsideis.com. If you have any questions or need help with this pattern, please contact me at [email protected] as I am happy to help you. Thank you for supporting my family by purchasing a pattern.

Waistcoat Hugger Coffee Cozy Crochet Pattern

Waistcoat Hugger Coffee Cozy Pattern

I was happily making coffee cozies for International Coffee Day while sipping on my brew when I realized that my cozies were predominantly girly. This is my response to that challenge. I love the result! This pattern takes longer than the typical cozy pattern but it looks unique and would be perfect as a gift to anyone – well worth the extra time. Enjoy, share, and thanks for giving credit back to this pattern.

Skill Level: Moderate

Materials: Measuring tape, yarn needle, scissors, the usual

Yarn: 2 colors of Caron Simply Soft (photo uses Soft Grey Heather and Black)

*Substitutions: any worsted weight or 4 ply yarn

Gauge: doesn’t matter for this project – check that the first row fits around desired cup and adjust accordingly

Hook Size: G

Size:

Standard. Pictured cup is an Ello Ogden Ceramic Travel Mug without the silicone boot. Also fits standard size coffee cups and most similar travel mugs.

Abbreviations Used:

st or sts – stitch or stitches

ch – chain stitch

fsc – foundation single crochet

ws – waistcoat stitch

sc – single crochet

Special Stitches:

Waistcoat Stich aka Knit Stitch: see a video here.

Pattern:

1) with grey, fsc 50, join to beginning fsc

2-4) pick up black, do not ch, ws in continuous rounds

5-9) repeat pattern alternating colors

10-12) repeat rows 2-4

13) with black, ws around, fasten off


Copyright Notice:

You are welcome to sell your finished items from this pattern. However, please do not copy, share, or redistribute the pattern itself in any manner. Please provide a link to my website if you choose to sell your finished items online, even if adjustments or embellishments have been made to my pattern. If you change the name to the item when you sell, mention the pattern name and link so that other people can find it). You may link in this way: Waistcoat Hugger Coffee Cozy Pattern by Hannah at brightsideis.com. If you have any questions or need help with this pattern, please contact me at [email protected] as I am happy to help you. Thank you for supporting my family by purchasing a pattern. – Hannah